CMIS Explorer
CMIS Explorer provides a fully customizable memory byte view of the transceiver memory that is plugged in the socket cage. CMIS Explorer can be found under .
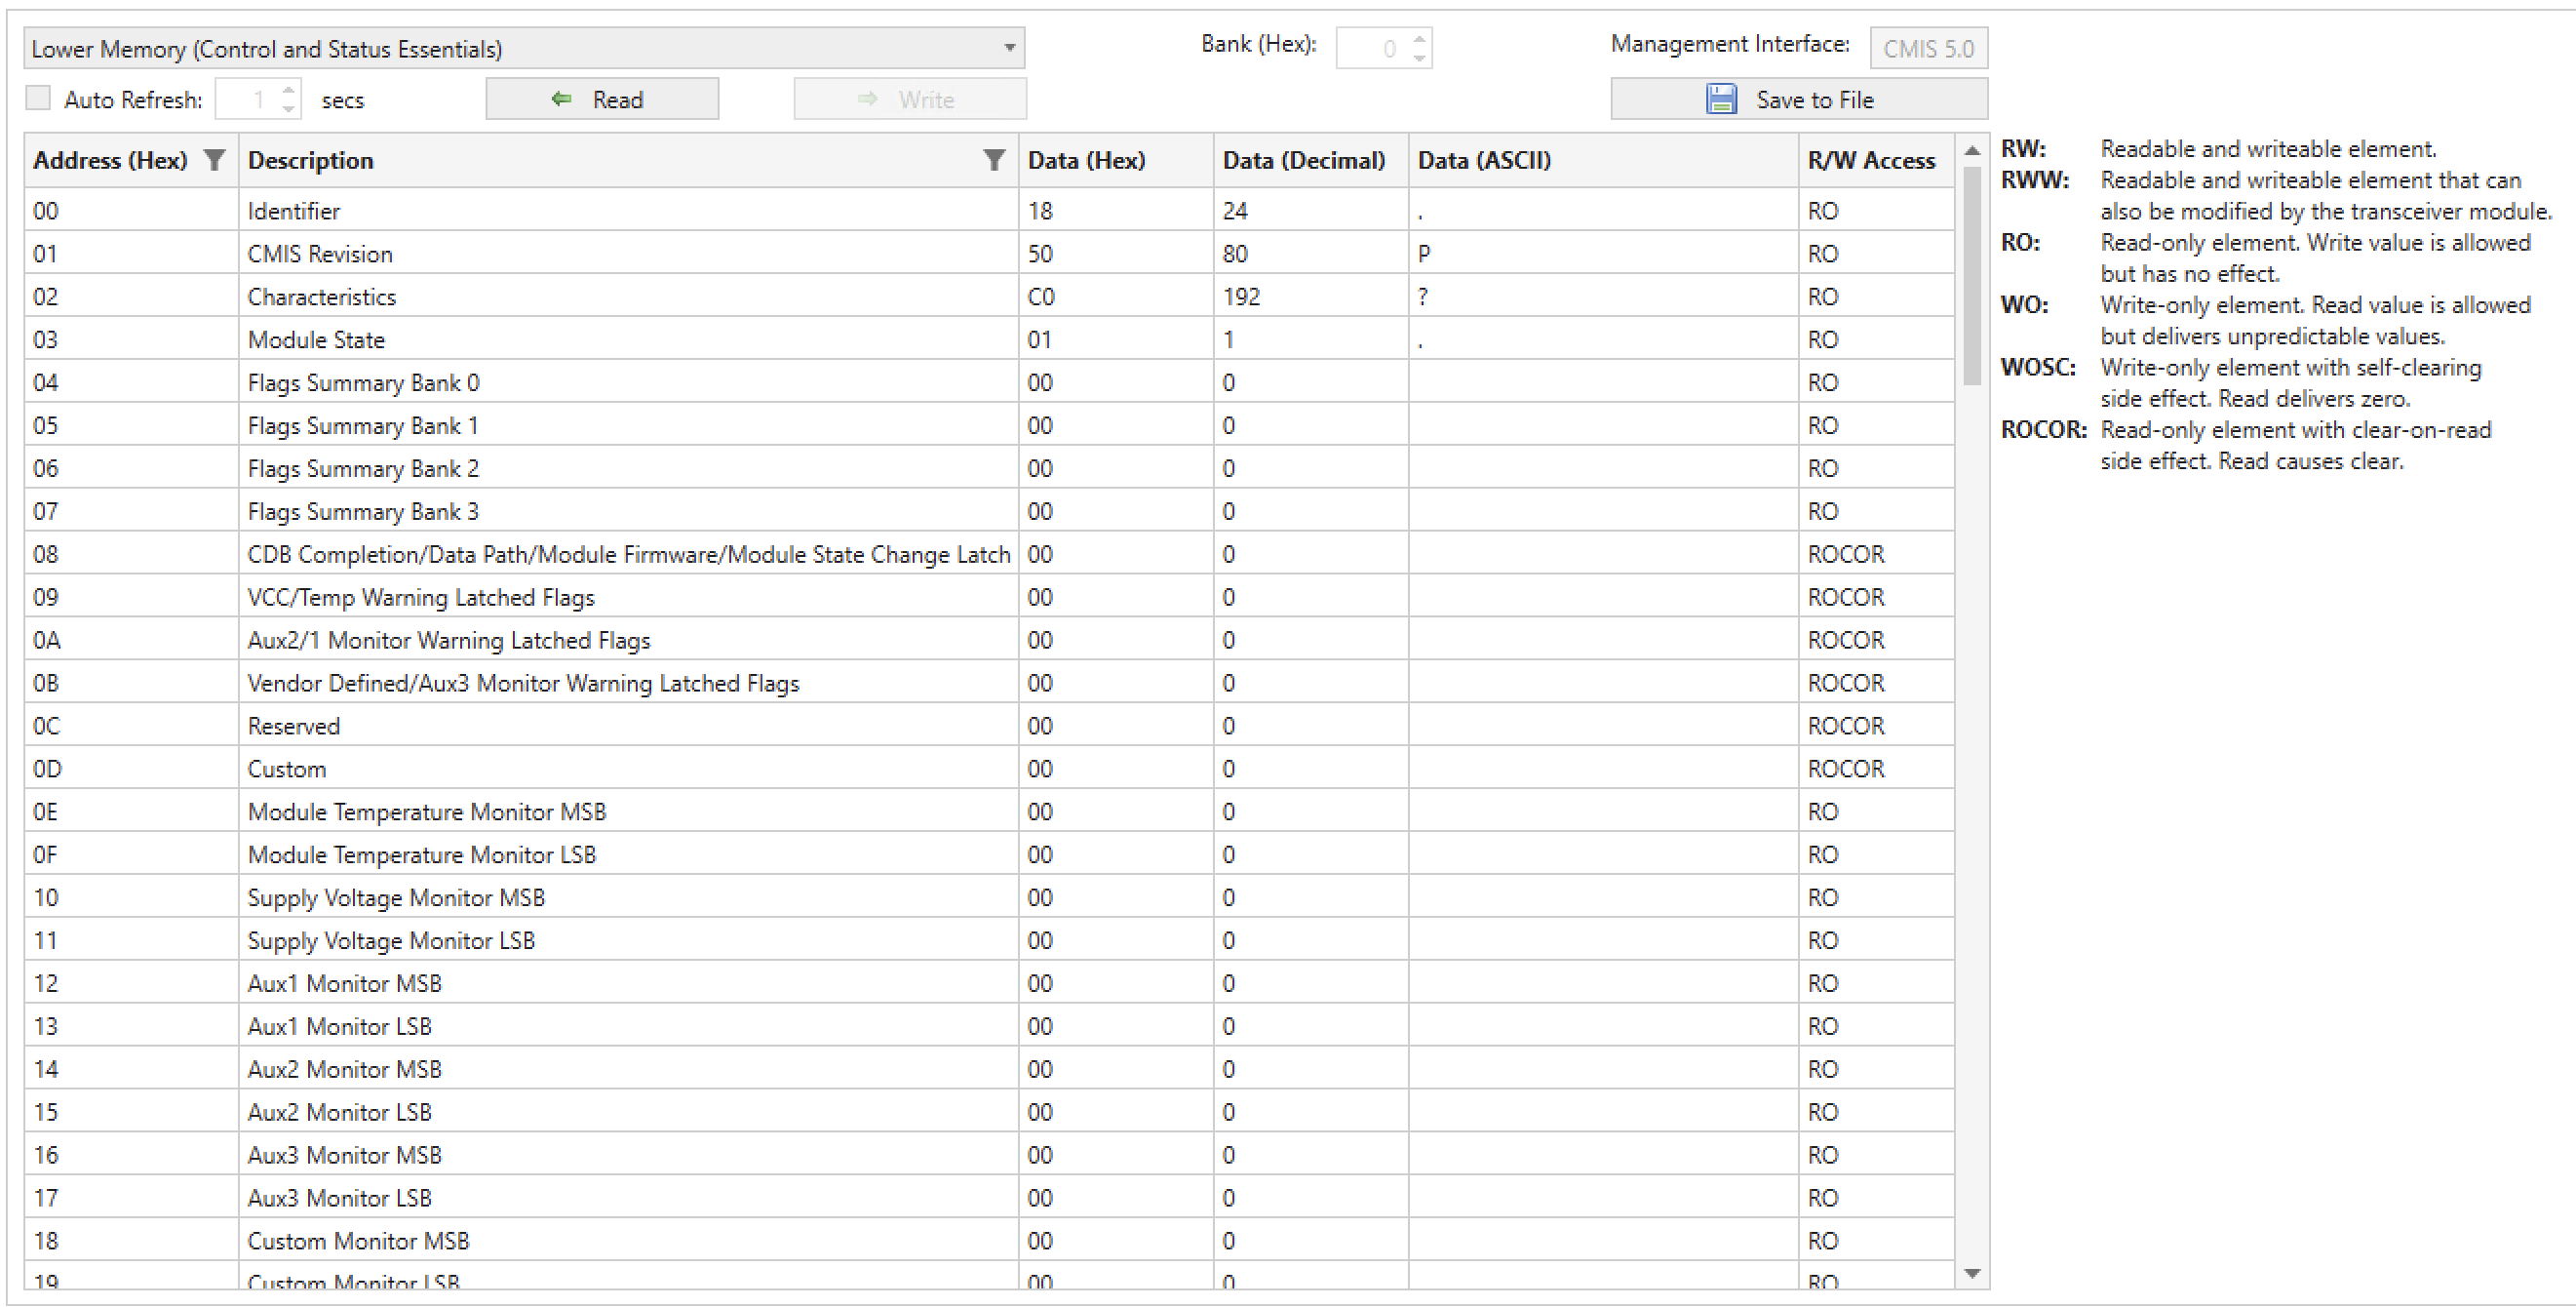
Fig. 5.85 CMIS Explorer Overview
Customization
The CMIS Explorer allows you to customize the transceiver memory page definitions. You can:
Decide which page to display, allowing you to make your own byte viewer.
Specify which bytes on a page to show, helping you concentrate on the bytes you work with.
Change descriptions for both pages and bytes, which is very useful when you want to remember the the use of some particular bytes on a page.
When you launch XenaManager for the first time, the application creates a folder at C:\Users\username\Documents\Xena\XenaManager\TcvrCmisDefs and generates a CMIS page definition JSON file for each page according to the CMIS specification. Consequently, there are 257 definition files for each CMIS specification. These definition files are used by XenaManager to populate the CMIS page selection drop-down list.
When you want to customize a page, simple go to the corresponding folder and open the corresponding JSON file for that page, as shown in Fig. 5.86.
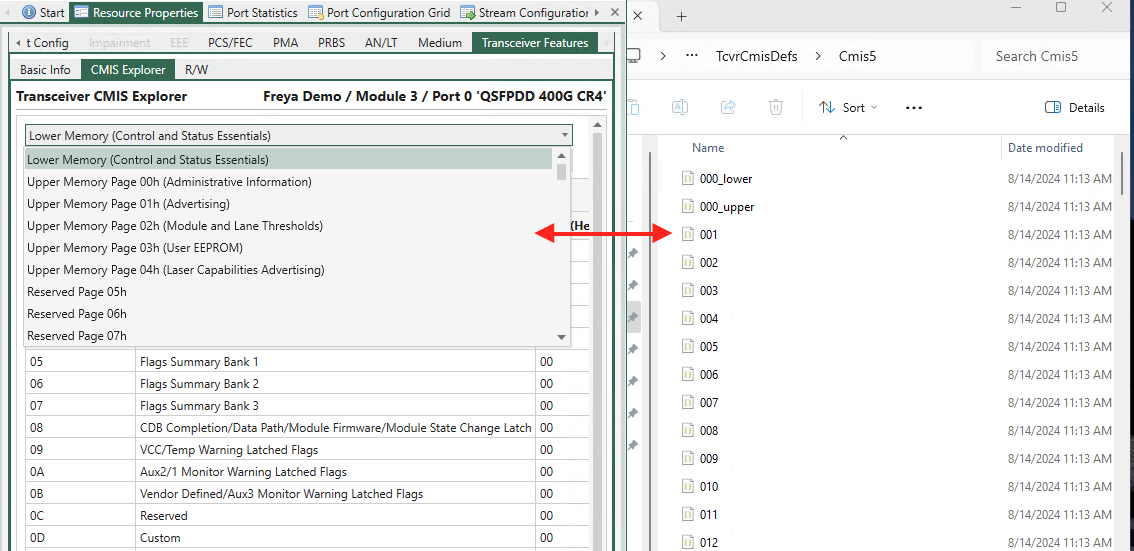
Fig. 5.86 Customize a page in CMIS Explorer
You can change the following values in the definition JSON files as shown in Fig. 5.87.:
page_description: this is the page name shown in the drop-down selection listreg_list: this list contains the bytes you want the CMIS Explorer to show on this pagedescription: this is the description of the byteaddress: address of the byte
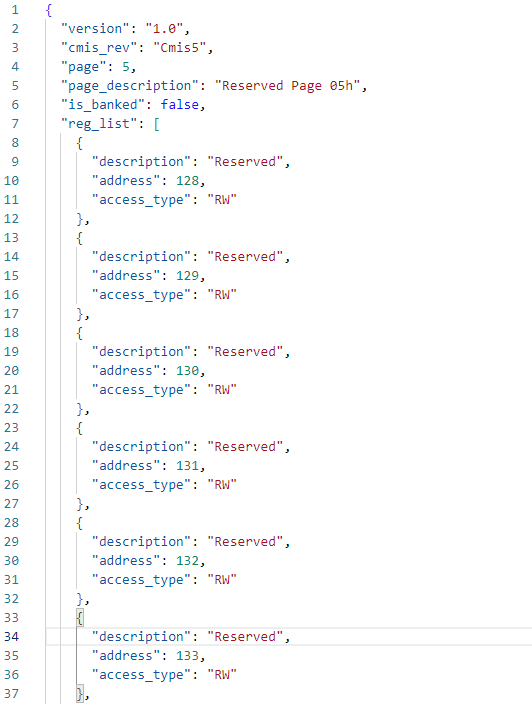
Fig. 5.87 Definition file in JSON format
Important
It is highly recommended that you save a copy of the entire C:\Users\username\Documents\Xena\XenaManager\TcvrCmisDefs folder before you customizing the CMIS Explorer. This is because XenaManager doesn’t provide the undo feature.
Note
If a subfolder in C:\Users\username\Documents\Xena\XenaManager\TcvrCmisDefs cannot be found when XenaManager is launched, XenaManager will regenerate the default definition files for that subfolder.
For example, if C:\Users\username\Documents\Xena\XenaManager\TcvrCmisDefs is missing, XenaManager will generate C:\Users\username\Documents\Xena\XenaManager\TcvrCmisDefs and its default definition files. If the subfolder is not empty, XenaManager will not change any file in it.
Page Selection
Use the page selection drop-down list to select the page you want to view.
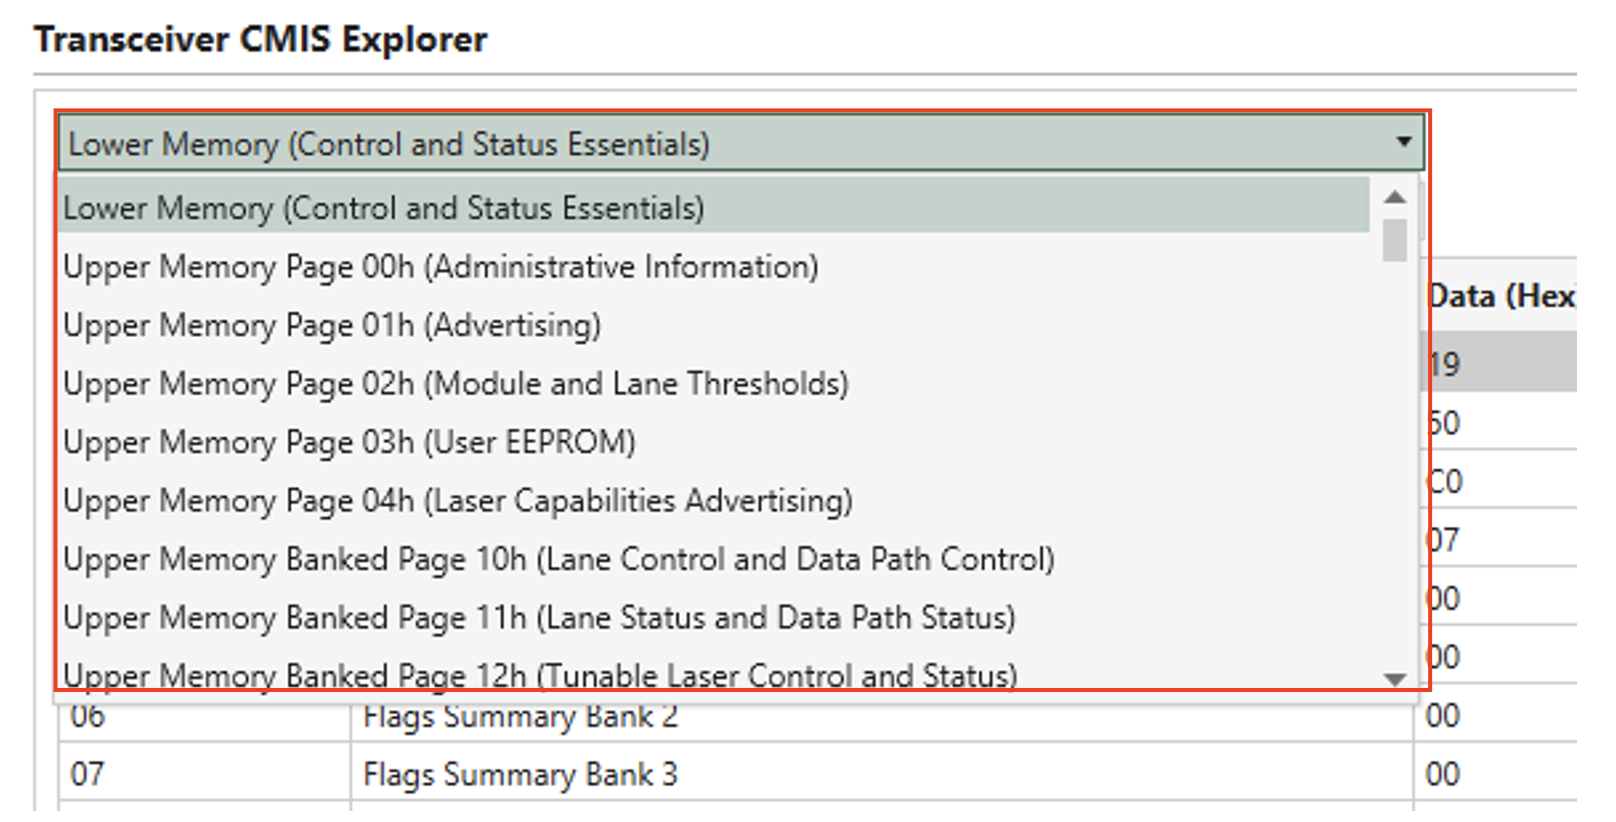
Fig. 5.88 Page Selection
Bank Selection
Bank selection (for banked pages). Use the Bank (Hex) stepper field to select the bank.
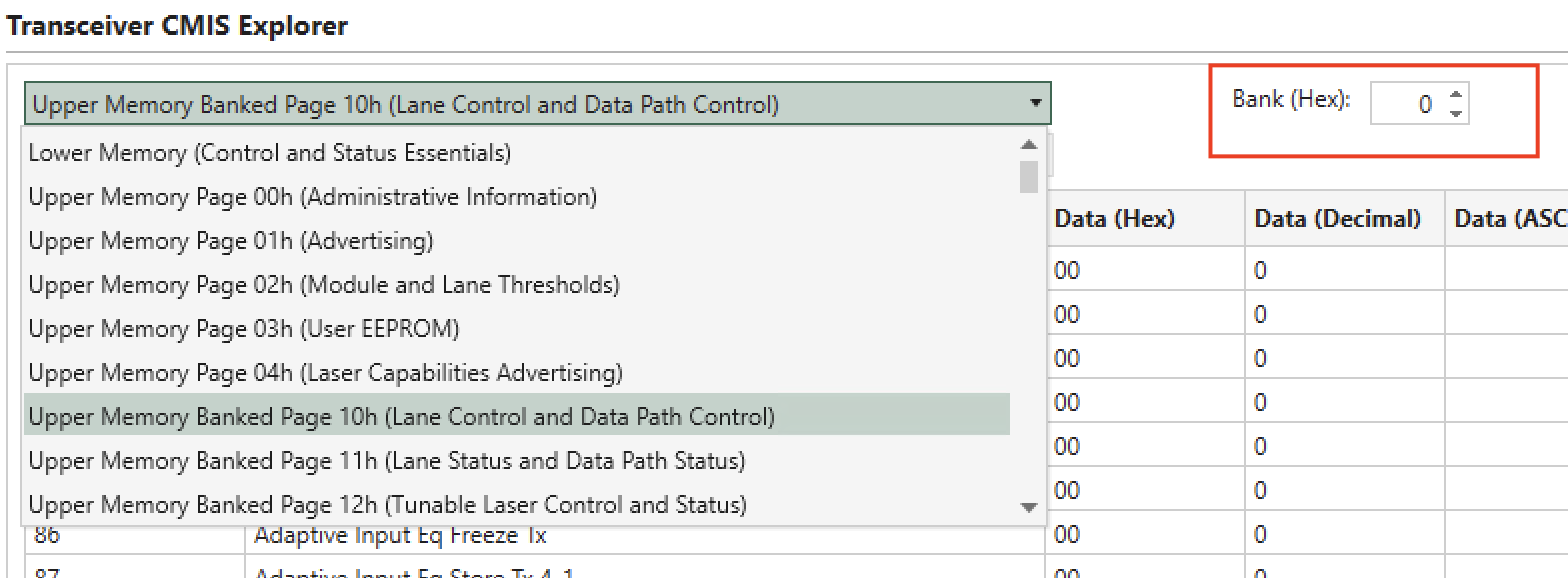
Fig. 5.89 Bank Selection
Management Interface
View the CMIS specification version of the transceiver in Management Interface.
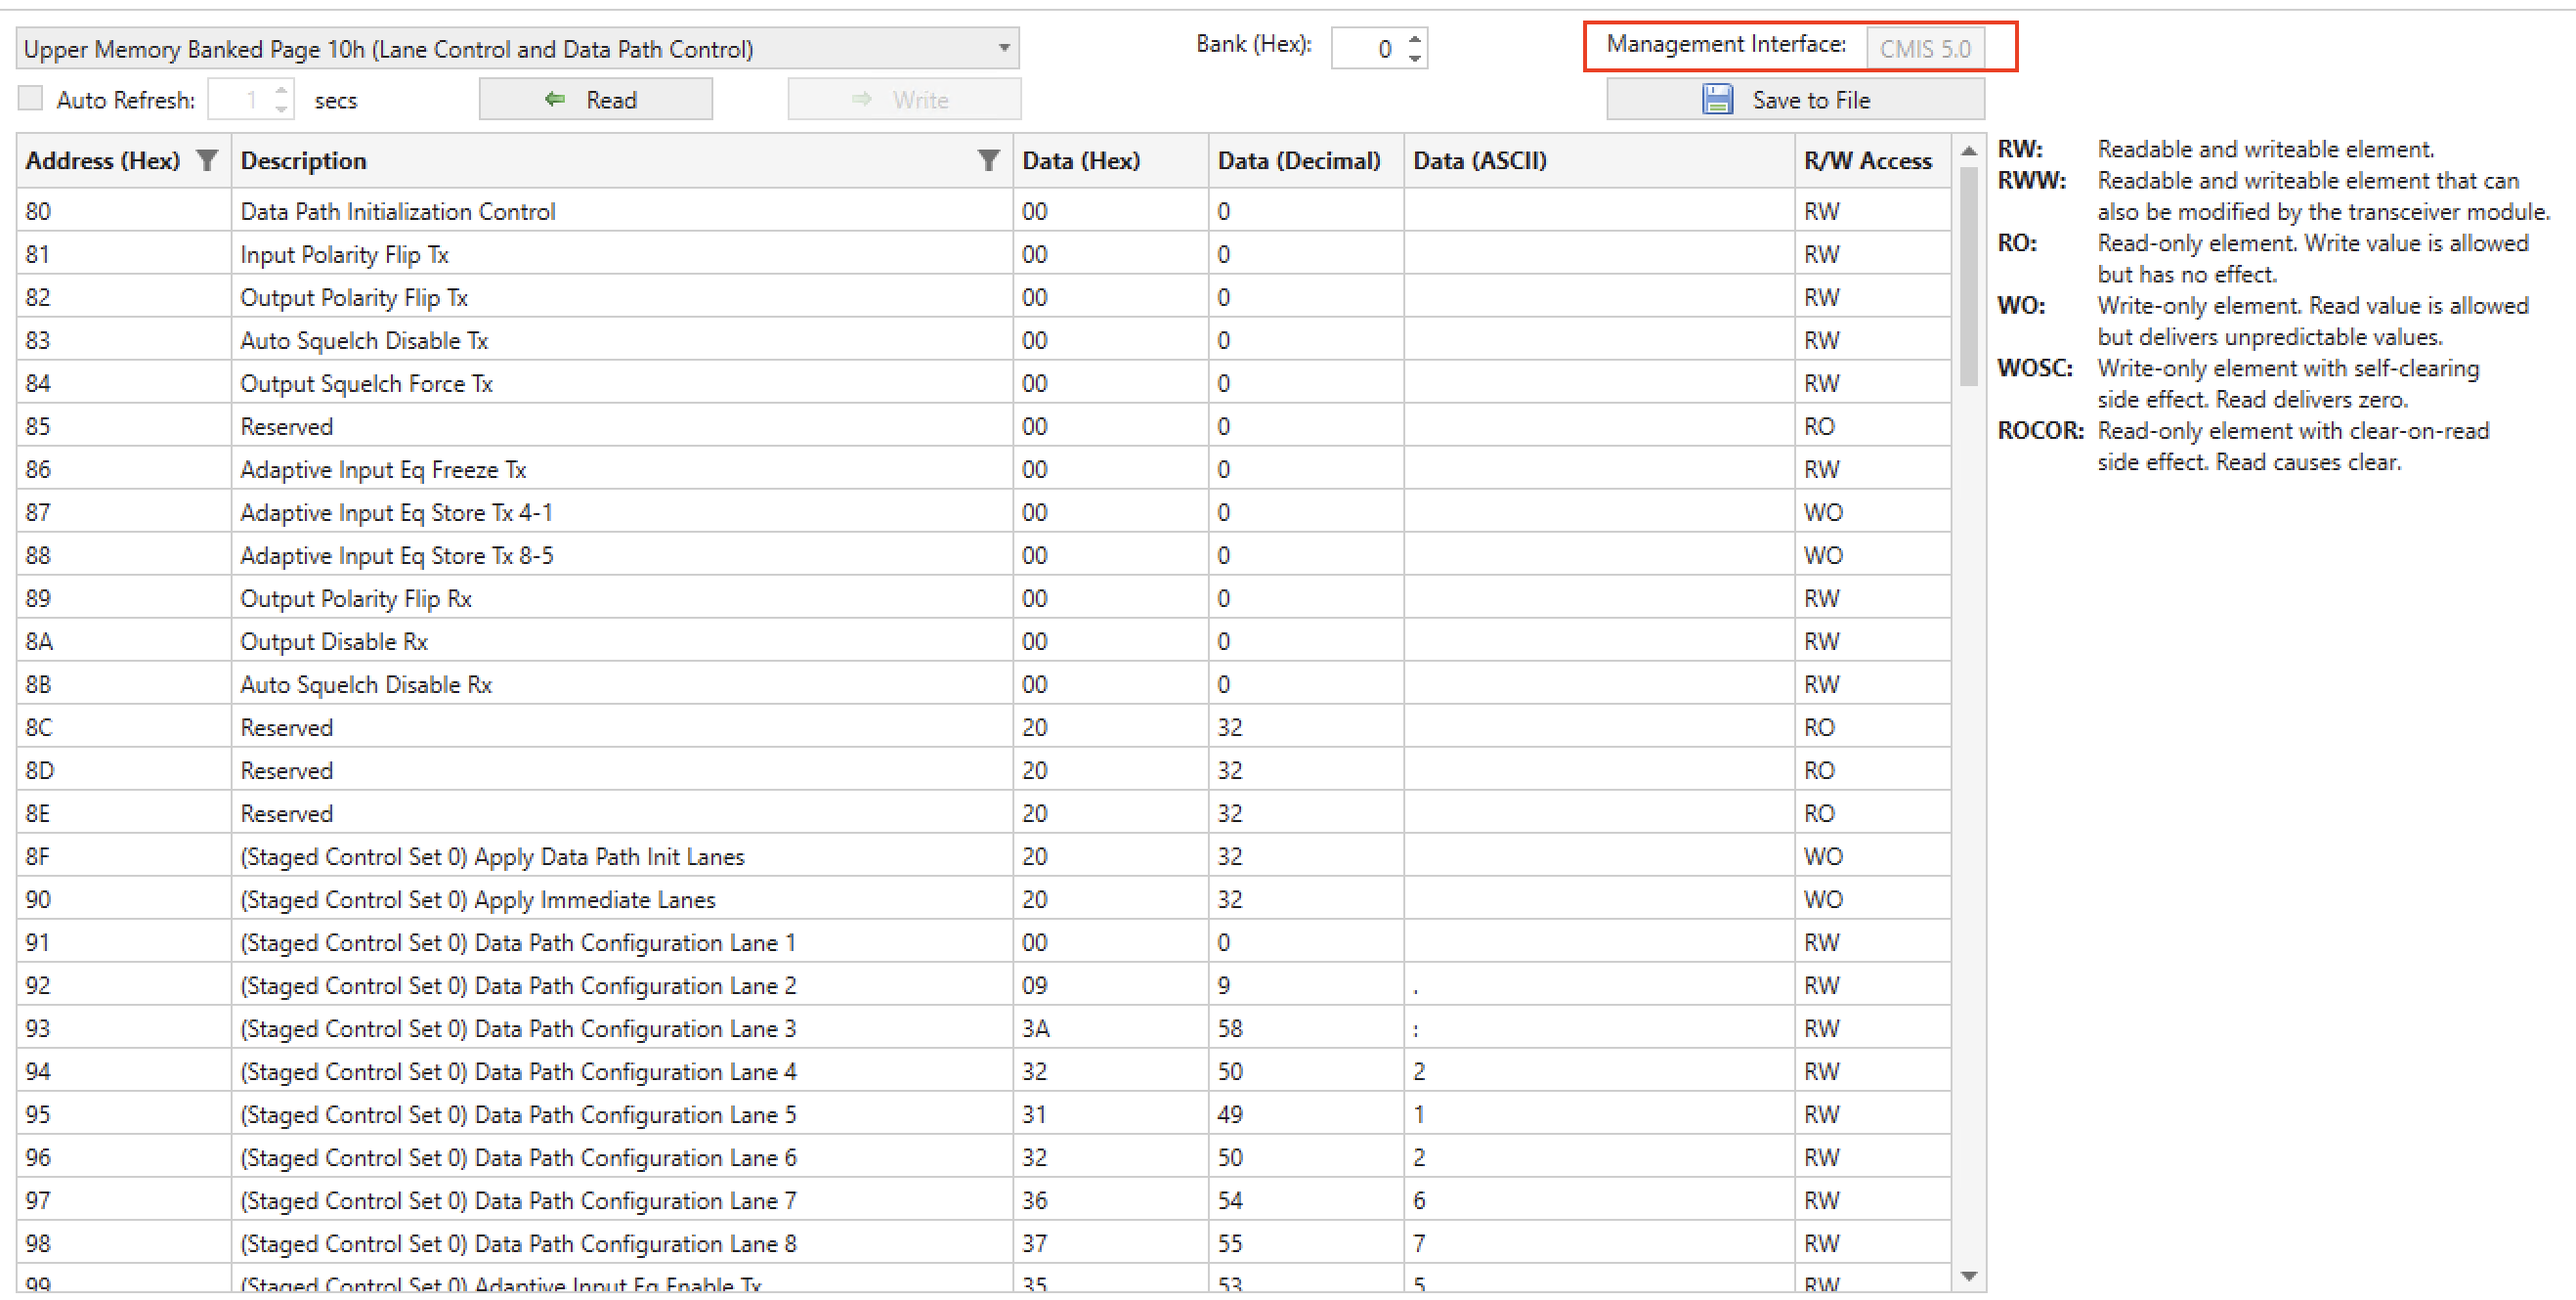
Fig. 5.90 Management Interface
Description Column
Description of each byte.
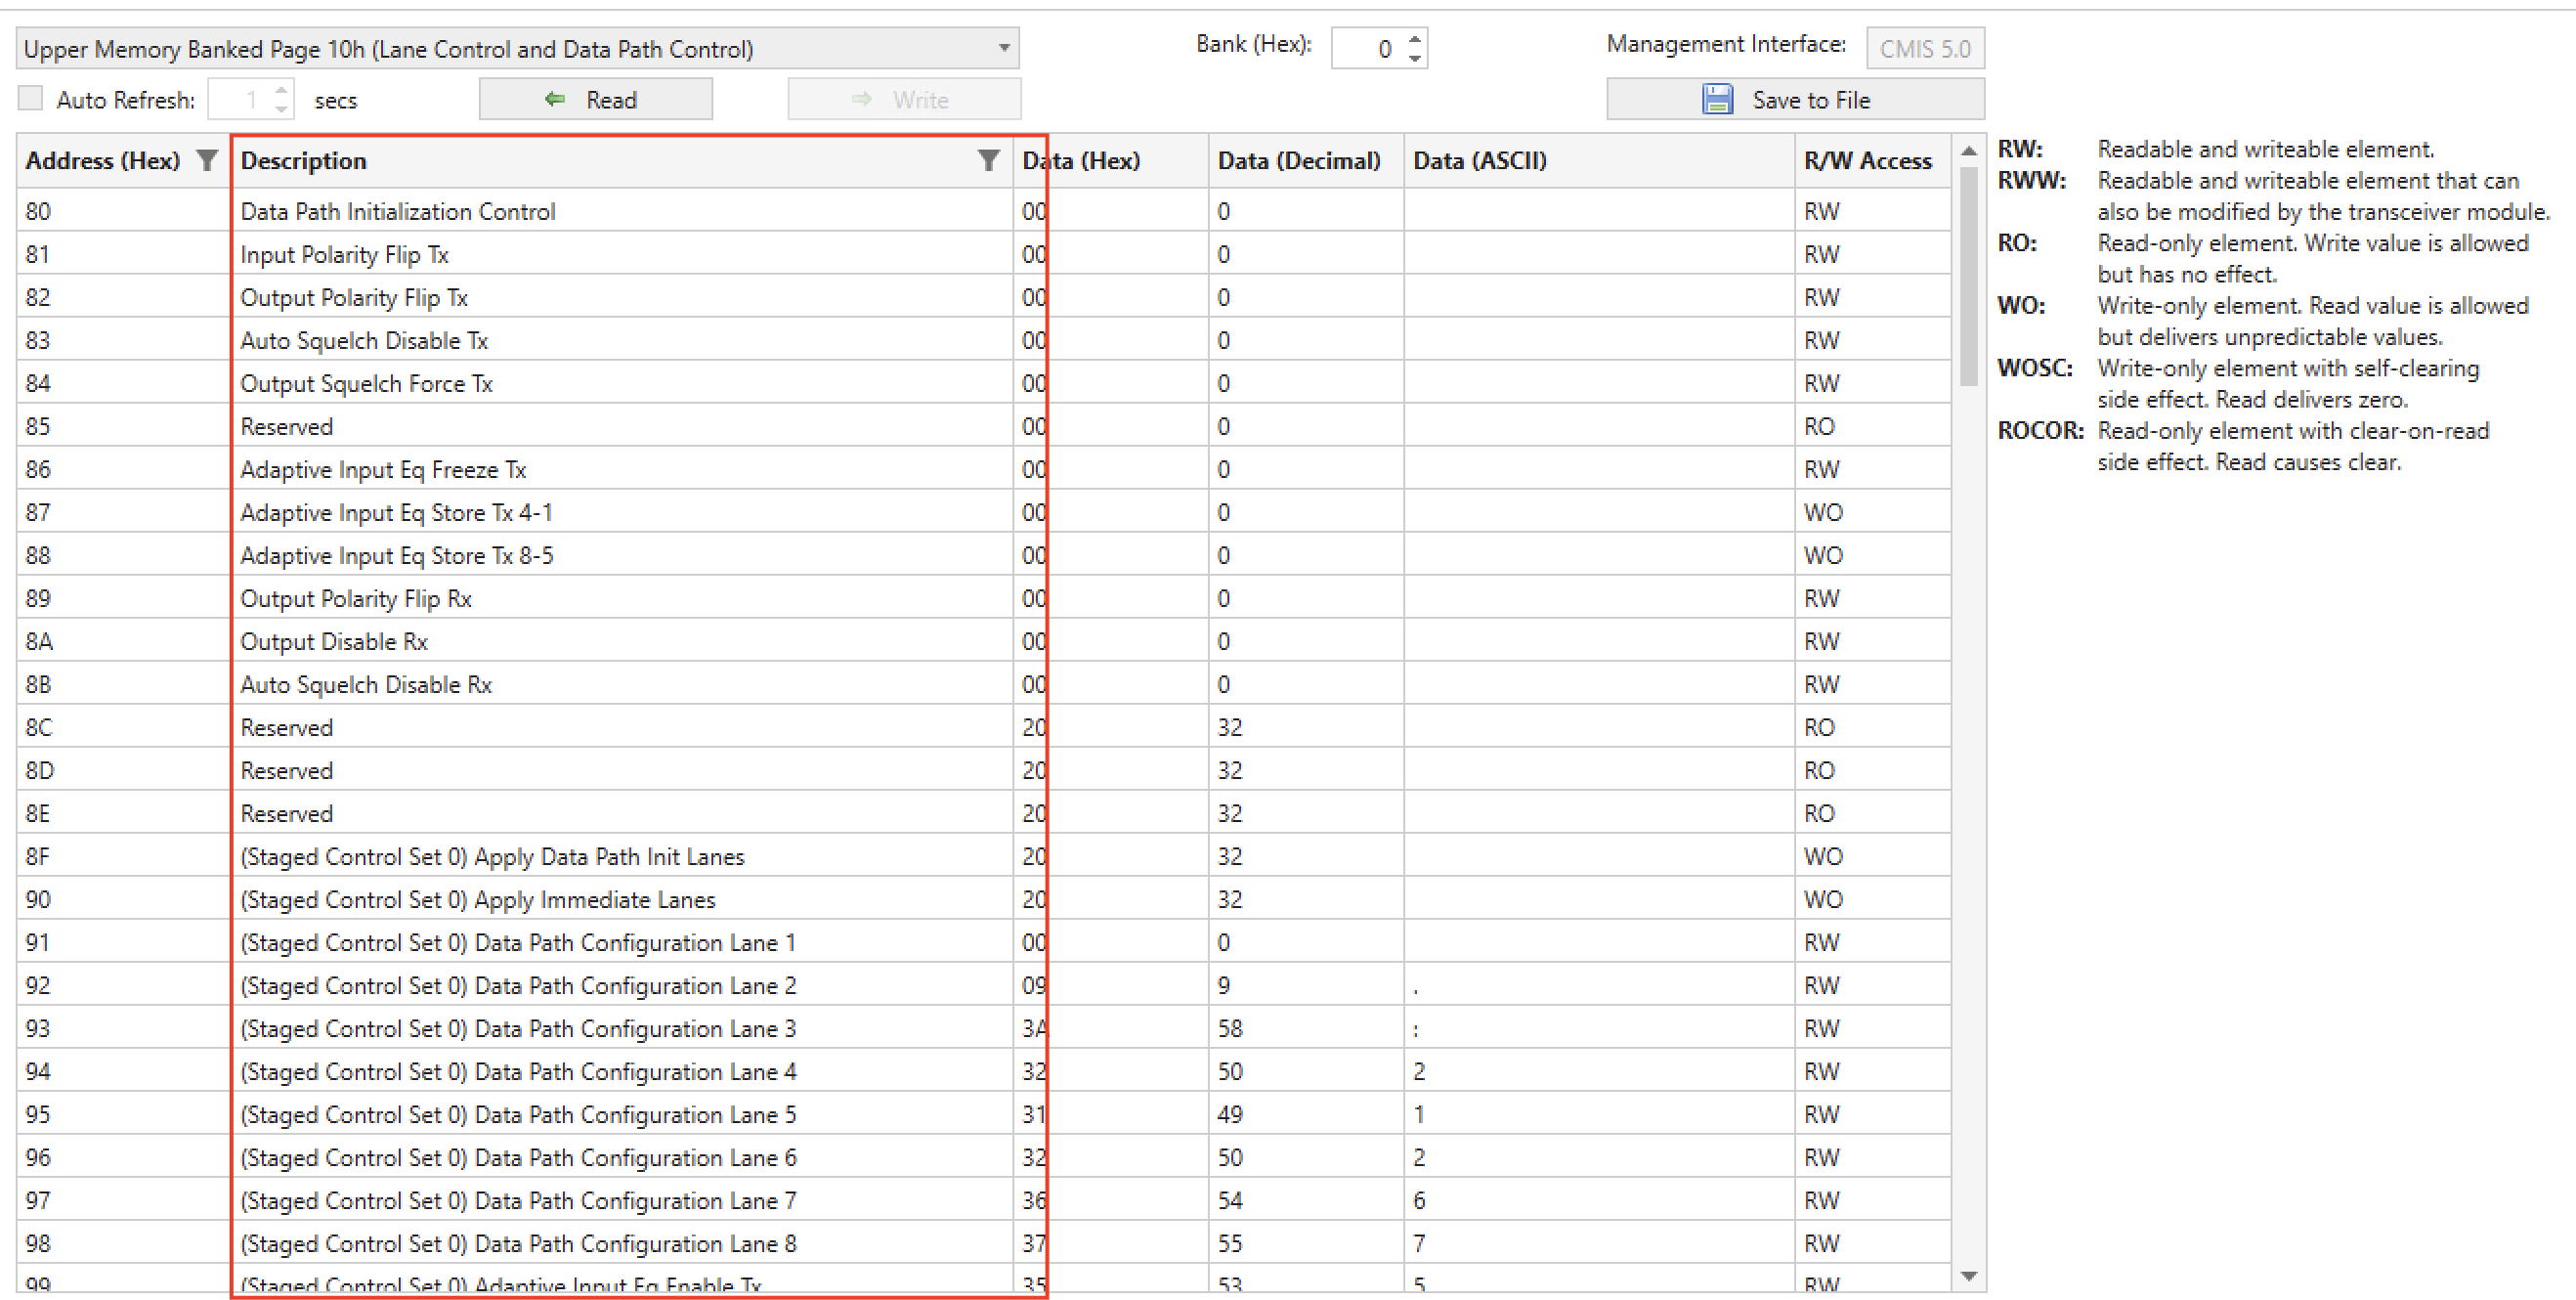
Fig. 5.91 Byte Description
Value Columns
Each table row corresponds to a byte on the page. The value of a byte is presented in three columns:
Data (Hex): raw binary value of the byte in hex format.
Data (Decimal): decimal format of the byte value.
Data (ASCII): ASCII format of the byte value.
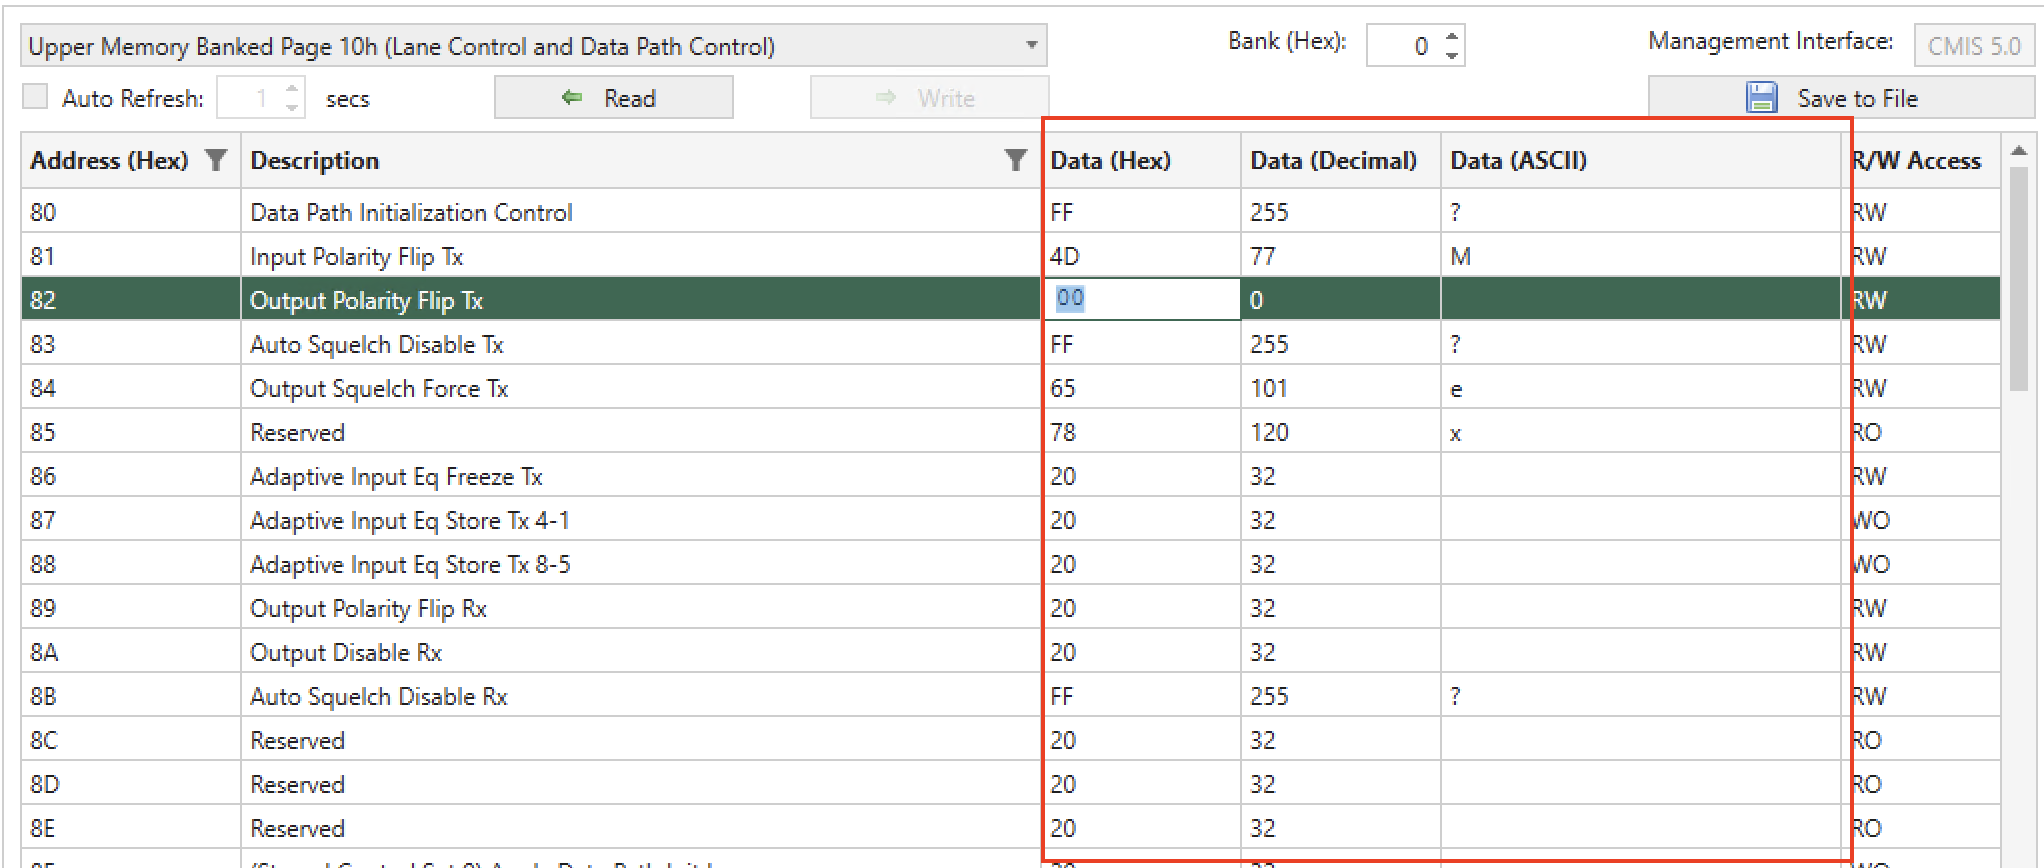
Fig. 5.92 Byte Value
Read Values
On-demand read and auto-refresh.
Clicking Read button trigger an on-demand read of all the bytes of the selected page/bank.
If you need to periodically monitor the page/bank, you can enable auto-refresh by enabling Auto Refresh with a polling interval in seconds.
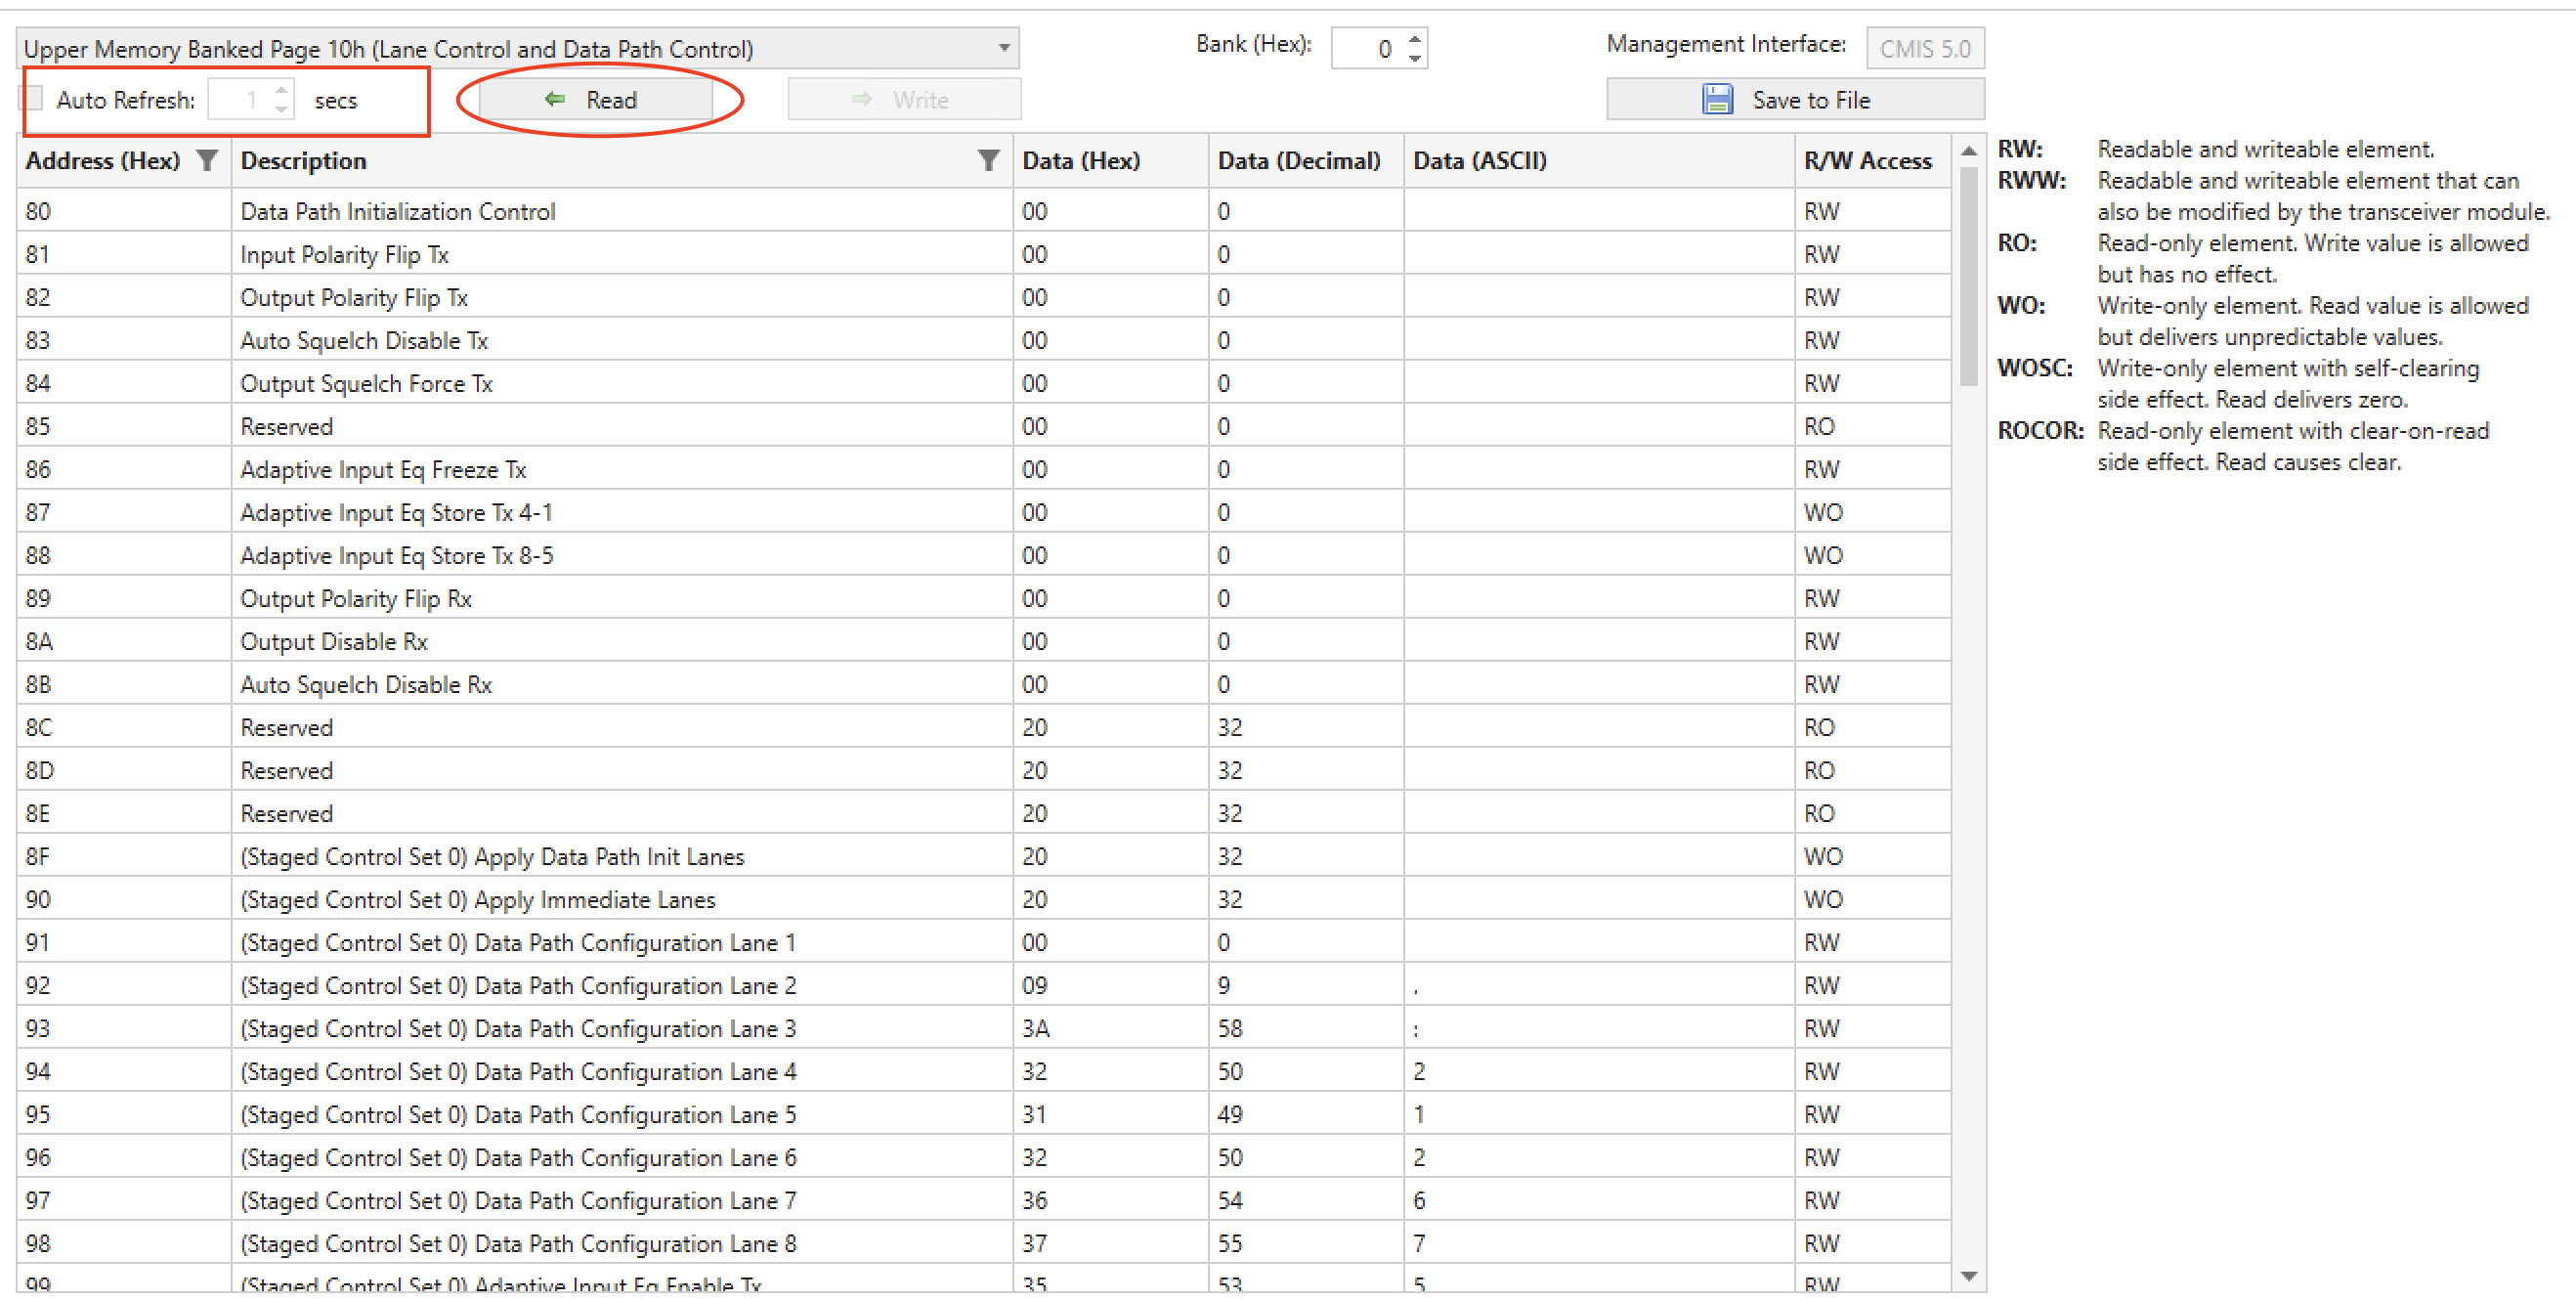
Fig. 5.93 Read Values
Write Values
Write values into register bytes. Click on the cells in Data (Hex) or Data (Decimal) to enter the corresponding value you want to write.
Click the Write button to commit the write changes. This allows you to batch write into the page/bank of the transceiver.
Attention
Writing into RO bytes is allowed but the value will be ignored by the transceiver.
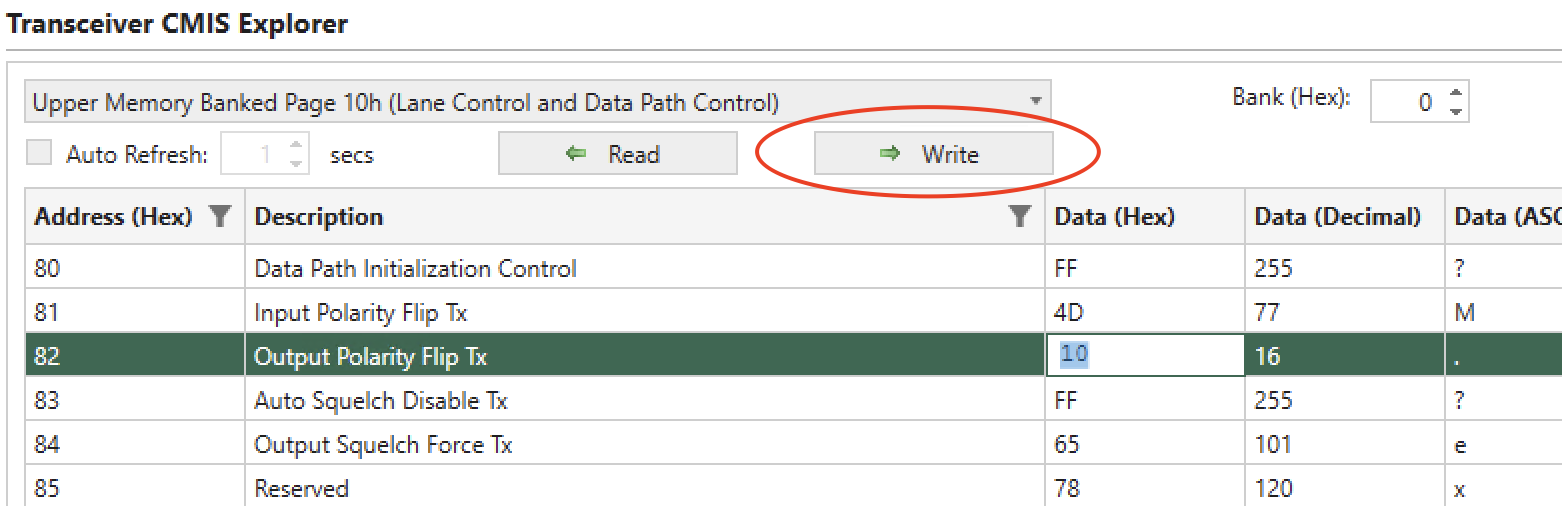
Fig. 5.94 Write Values
R/W Access
The CMIS Explorer shows the read/write access level of each byte.
R/W Access |
Description |
|---|---|
RW |
A readable and writeable element. |
RWW |
A readable and writeable element that can also be modified by the module. |
RO |
A read-only element. A WRITE of a value to a read-only element is allowed but has no effect. |
WO |
A write-only element. A READ from a write-only element is allowed but delivers unpredictable values. |
WOSC |
A write-only element with self-clearing side effect. A READ from a WO/SC element is allowed and delivers a zero value, except transiently when reading before the module has evaluated and cleared the non-zero bits written. |
ROCOR |
A read-only element with clear-on-read (clear-after-read) side effect. All bits in a RO/COR Byte are cleared by the module after the Byte value has been read. |
Save This Page
Save selected the page/bank into a csv file. Click Save This Page button to save the entire page into a csv file, including all information shown in the displayed table.
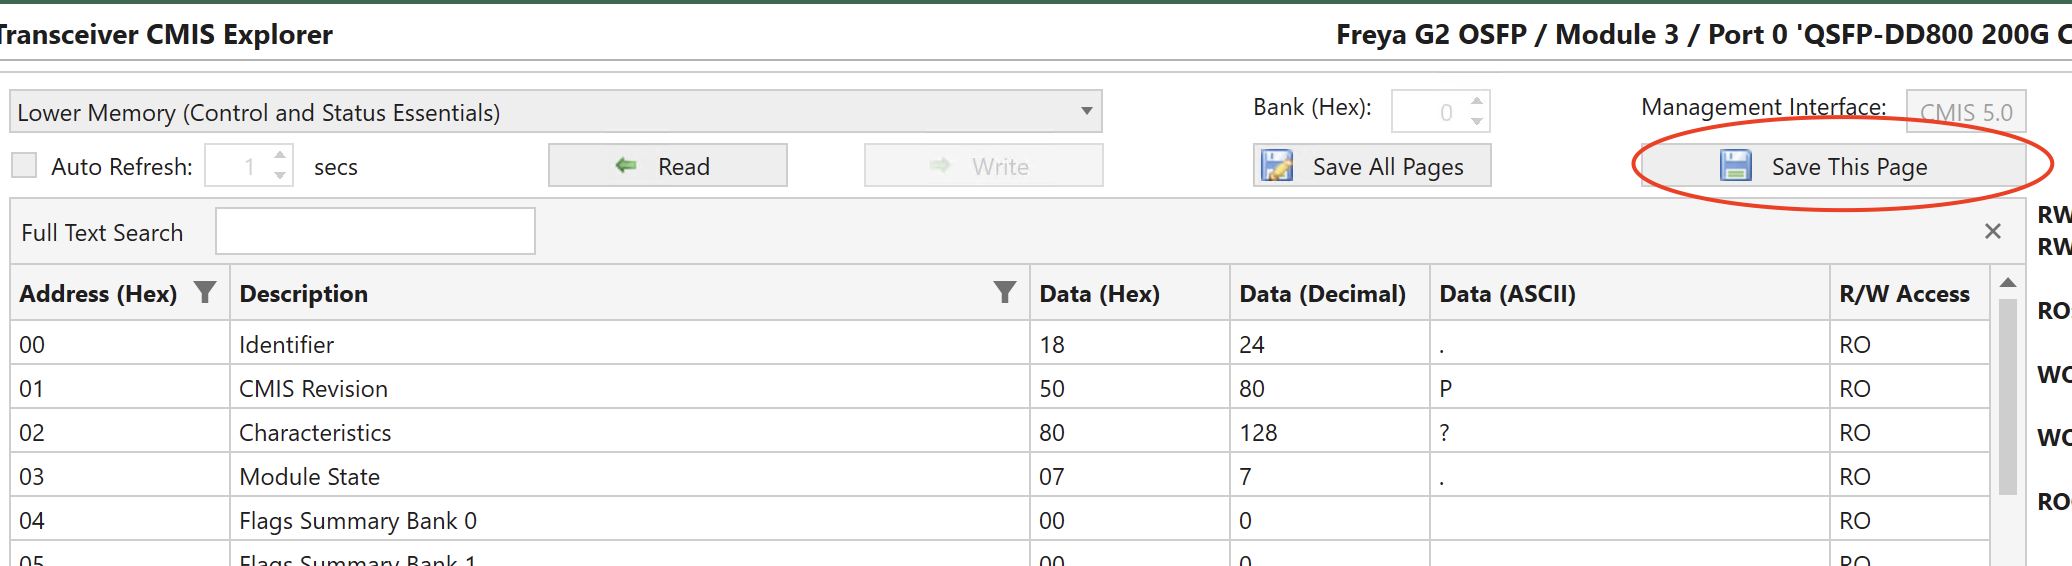
Fig. 5.95 Save This Page
Save All Pages
When you click Save All Pages in , XenaManager will save the register values of all pages from the drop-down list. Each page’s data is saved into a separate CSV file.
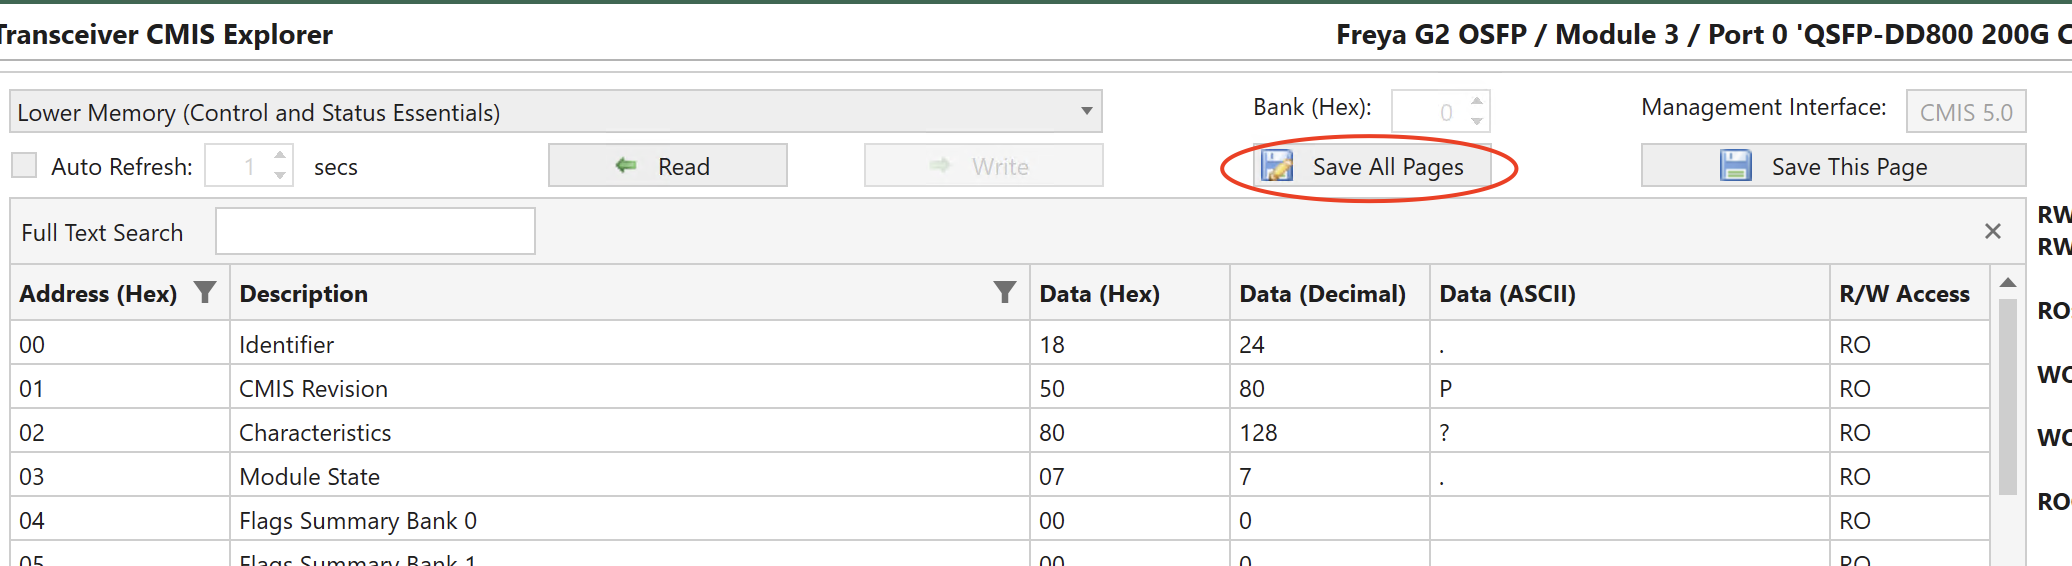
Fig. 5.96 Save All Pages
The saving process takes 2-3 minutes depending on the number of pages in the drop-down list.
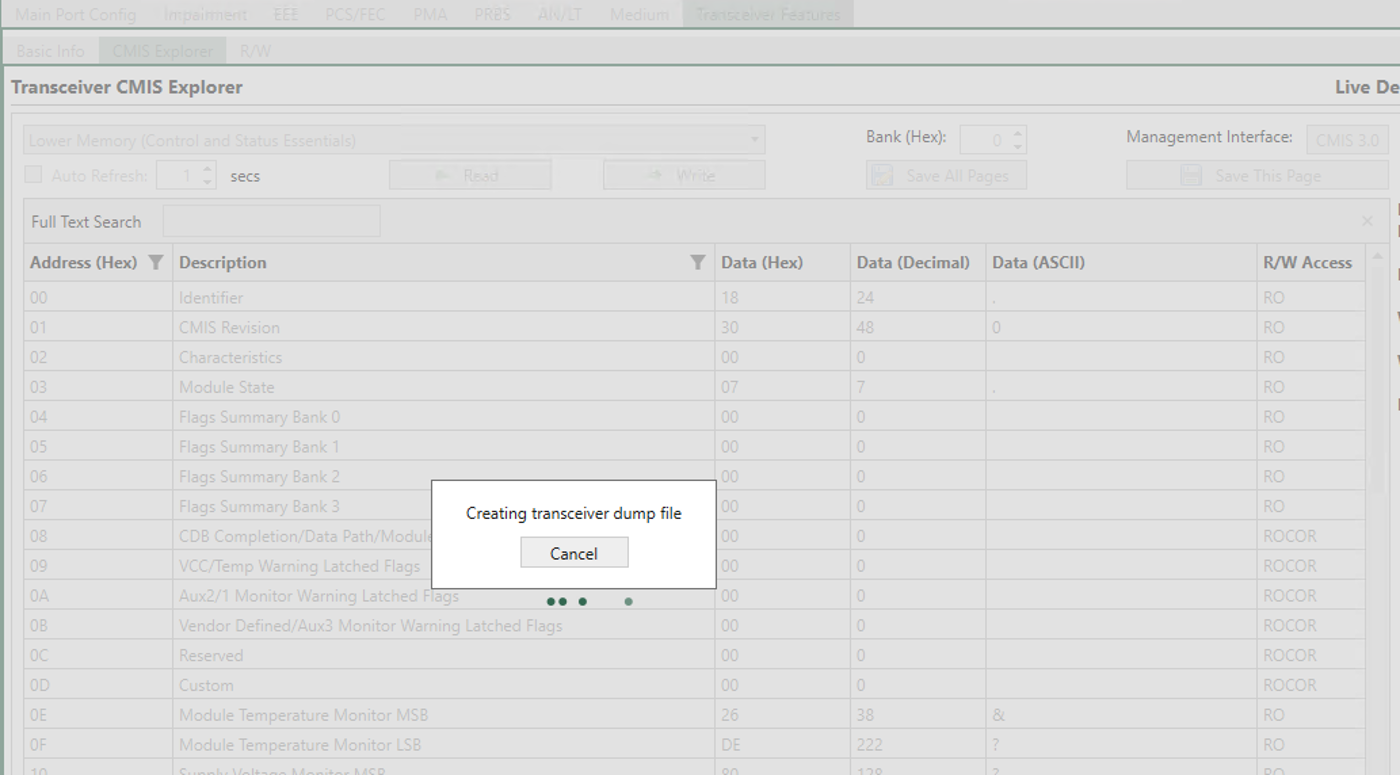
Fig. 5.97 The process of saving all pages takes 2-3 minutes depending on the how many pages are in the drop-down list.
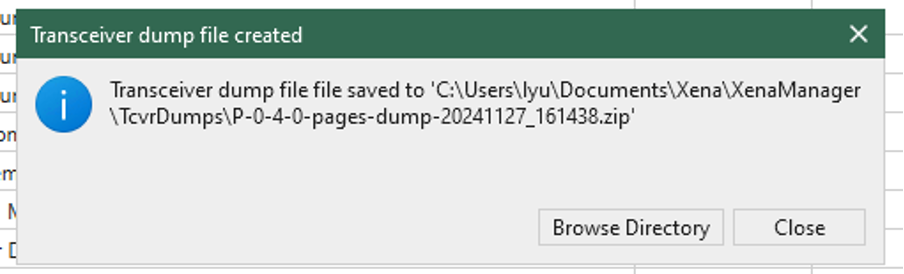
Fig. 5.98 When saving is done, the path to the saved zip file is provided.
Search Bar
The CMIS Explorer table allows you to search the byte description using the search bar. By default the search bar is enabled. To bring back a closed search bar, use Ctrl-F.
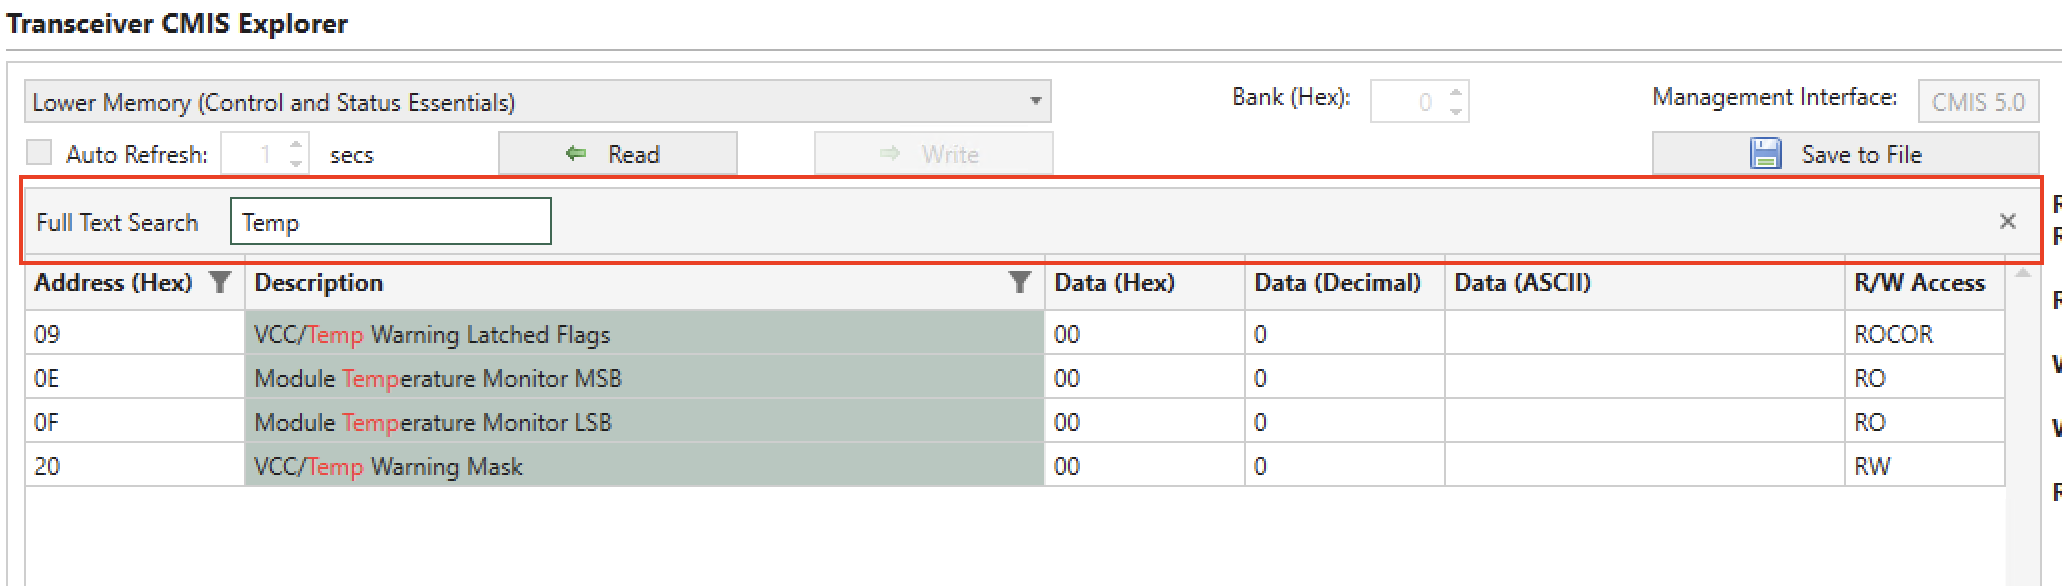
Fig. 5.99 CMIS Explorer Search Bar
Supported CMIS Specification
CMIS Explorer supports the following CMIS specifications:
CMIS 3.0
CMIS 4.0
CMIS 5.0
CMIS 5.1
CMIS 5.2
Important
The GUI only reads the transceiver memory when you click the tab, or changing page/bank. Clicking on a port doesn’t trigger a read operation on the transceiver. This is sometimes useful when you don’t want the GUI to interrupt your operations on the transceiver.