4.2. Layer-2 Tests
This section describes various layer-2 (Ethernet with optional VLAN) tests.
Ethernet Point-to-Point Test
This example will describe how a simple pair-based unidirectional test using plain Ethernet transport with two test ports is created and executed.
Start the Xena2544 application. Select the menu option to ensure that you start with a new configuration.
Push the Add Chassis button in the toolbar and enter the IP address and password of the Xena tester you want to use. Keep the default value of 22606 for the port number unless you know that your tester is configured with a different port number. Press OK.
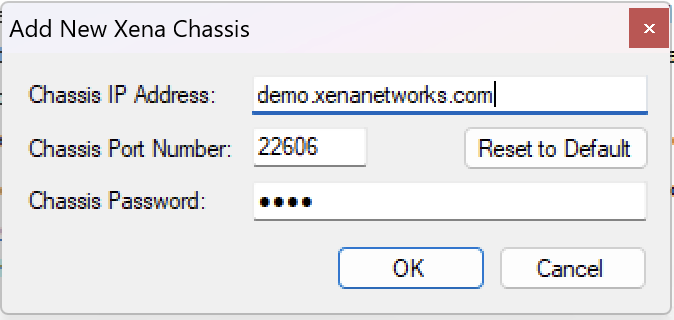
Fig. 4.1 Add chassis
The Xena2544 will now connect to the chassis and read all module and port information. You should now see all available test modules and ports on the chassis in the Physical Ports panel to the left.
Change to the Test Configuration tab. In the Topology and Frame Content subtab set the Topology property to Pairs and the Direction property to East -> West. Leave all other properties in this subtab and the other two subtabs at their default values.
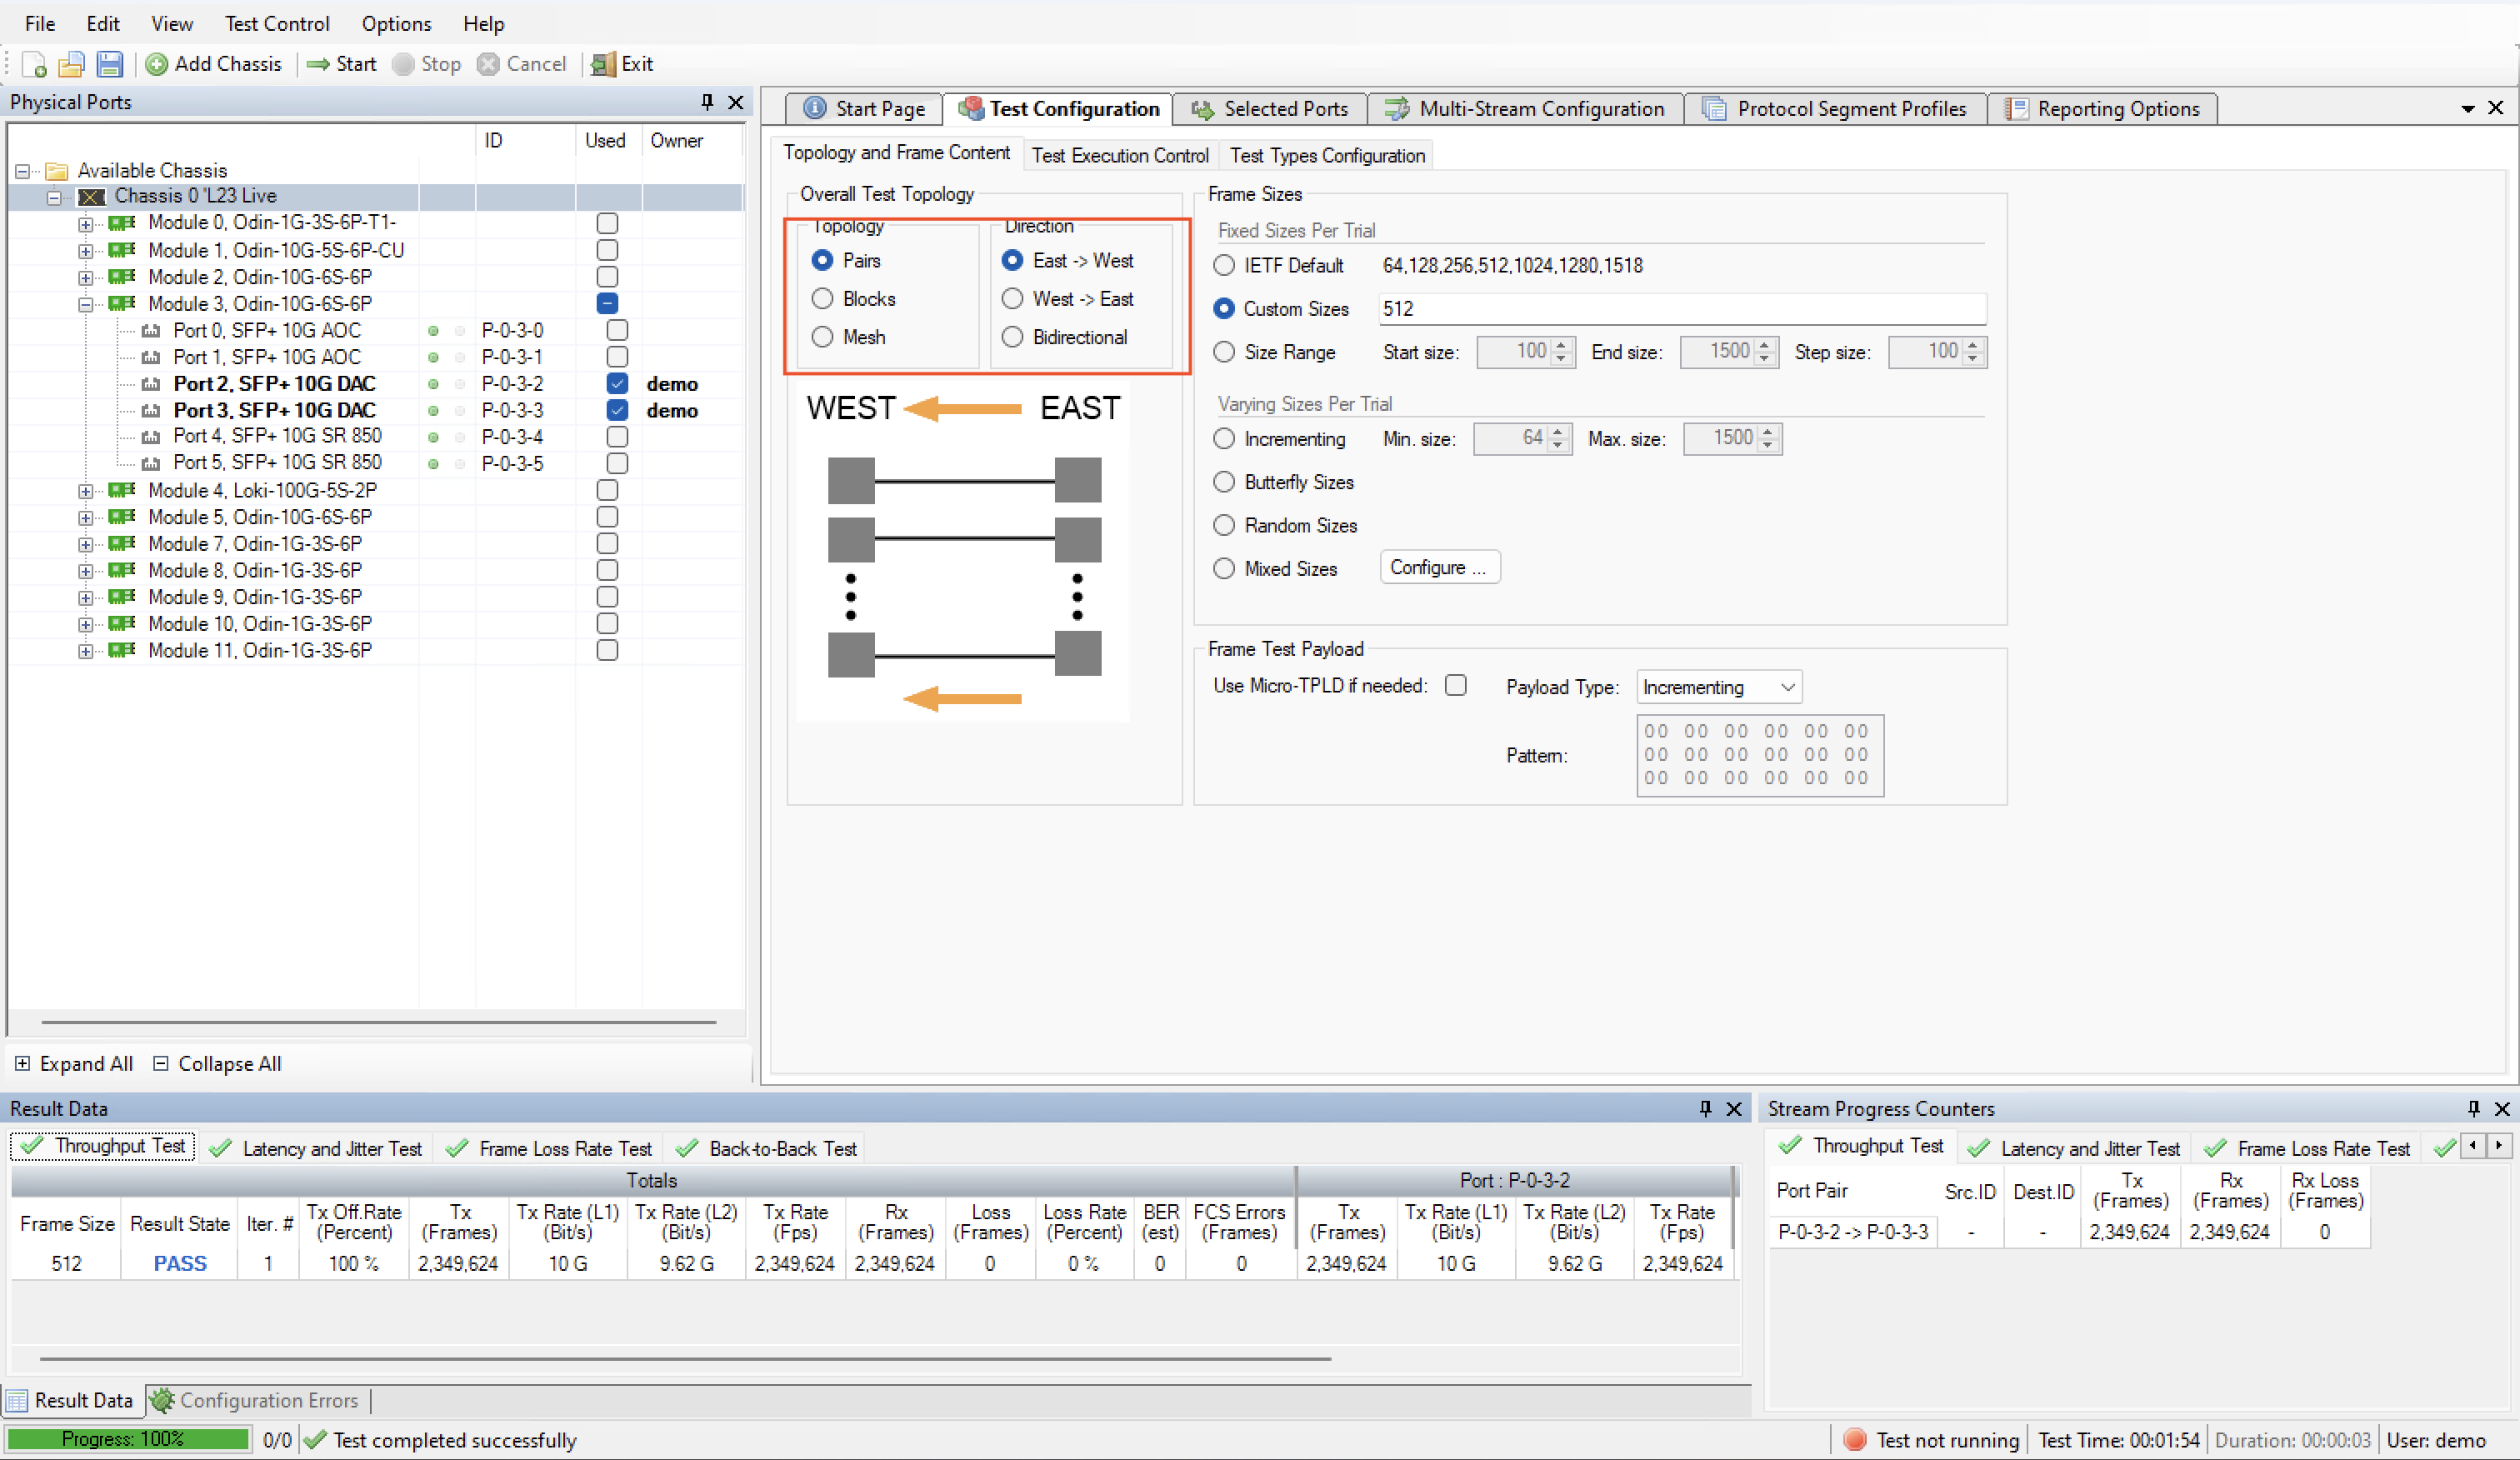
Fig. 4.2 East-to-west topology
Change to the Selected Ports tab. Locate two ports in the Physical Ports panel which you want to use in the test and drag them to the Selected Ports tab. Note that these two ports should be able to communicate with each other using plain Ethernet transport. Either they should be connected to the same layer-2 switch or they could be connected together using a cable.
Set the Port Group property for the first port to East. Set the same property for the other port to West.
Press the red Select Peer selector in the Port Peer column for the first port. Select the other port in the resulting drop-down box, as shown in the figure below. The equivalent selector for the other port will change automatically.
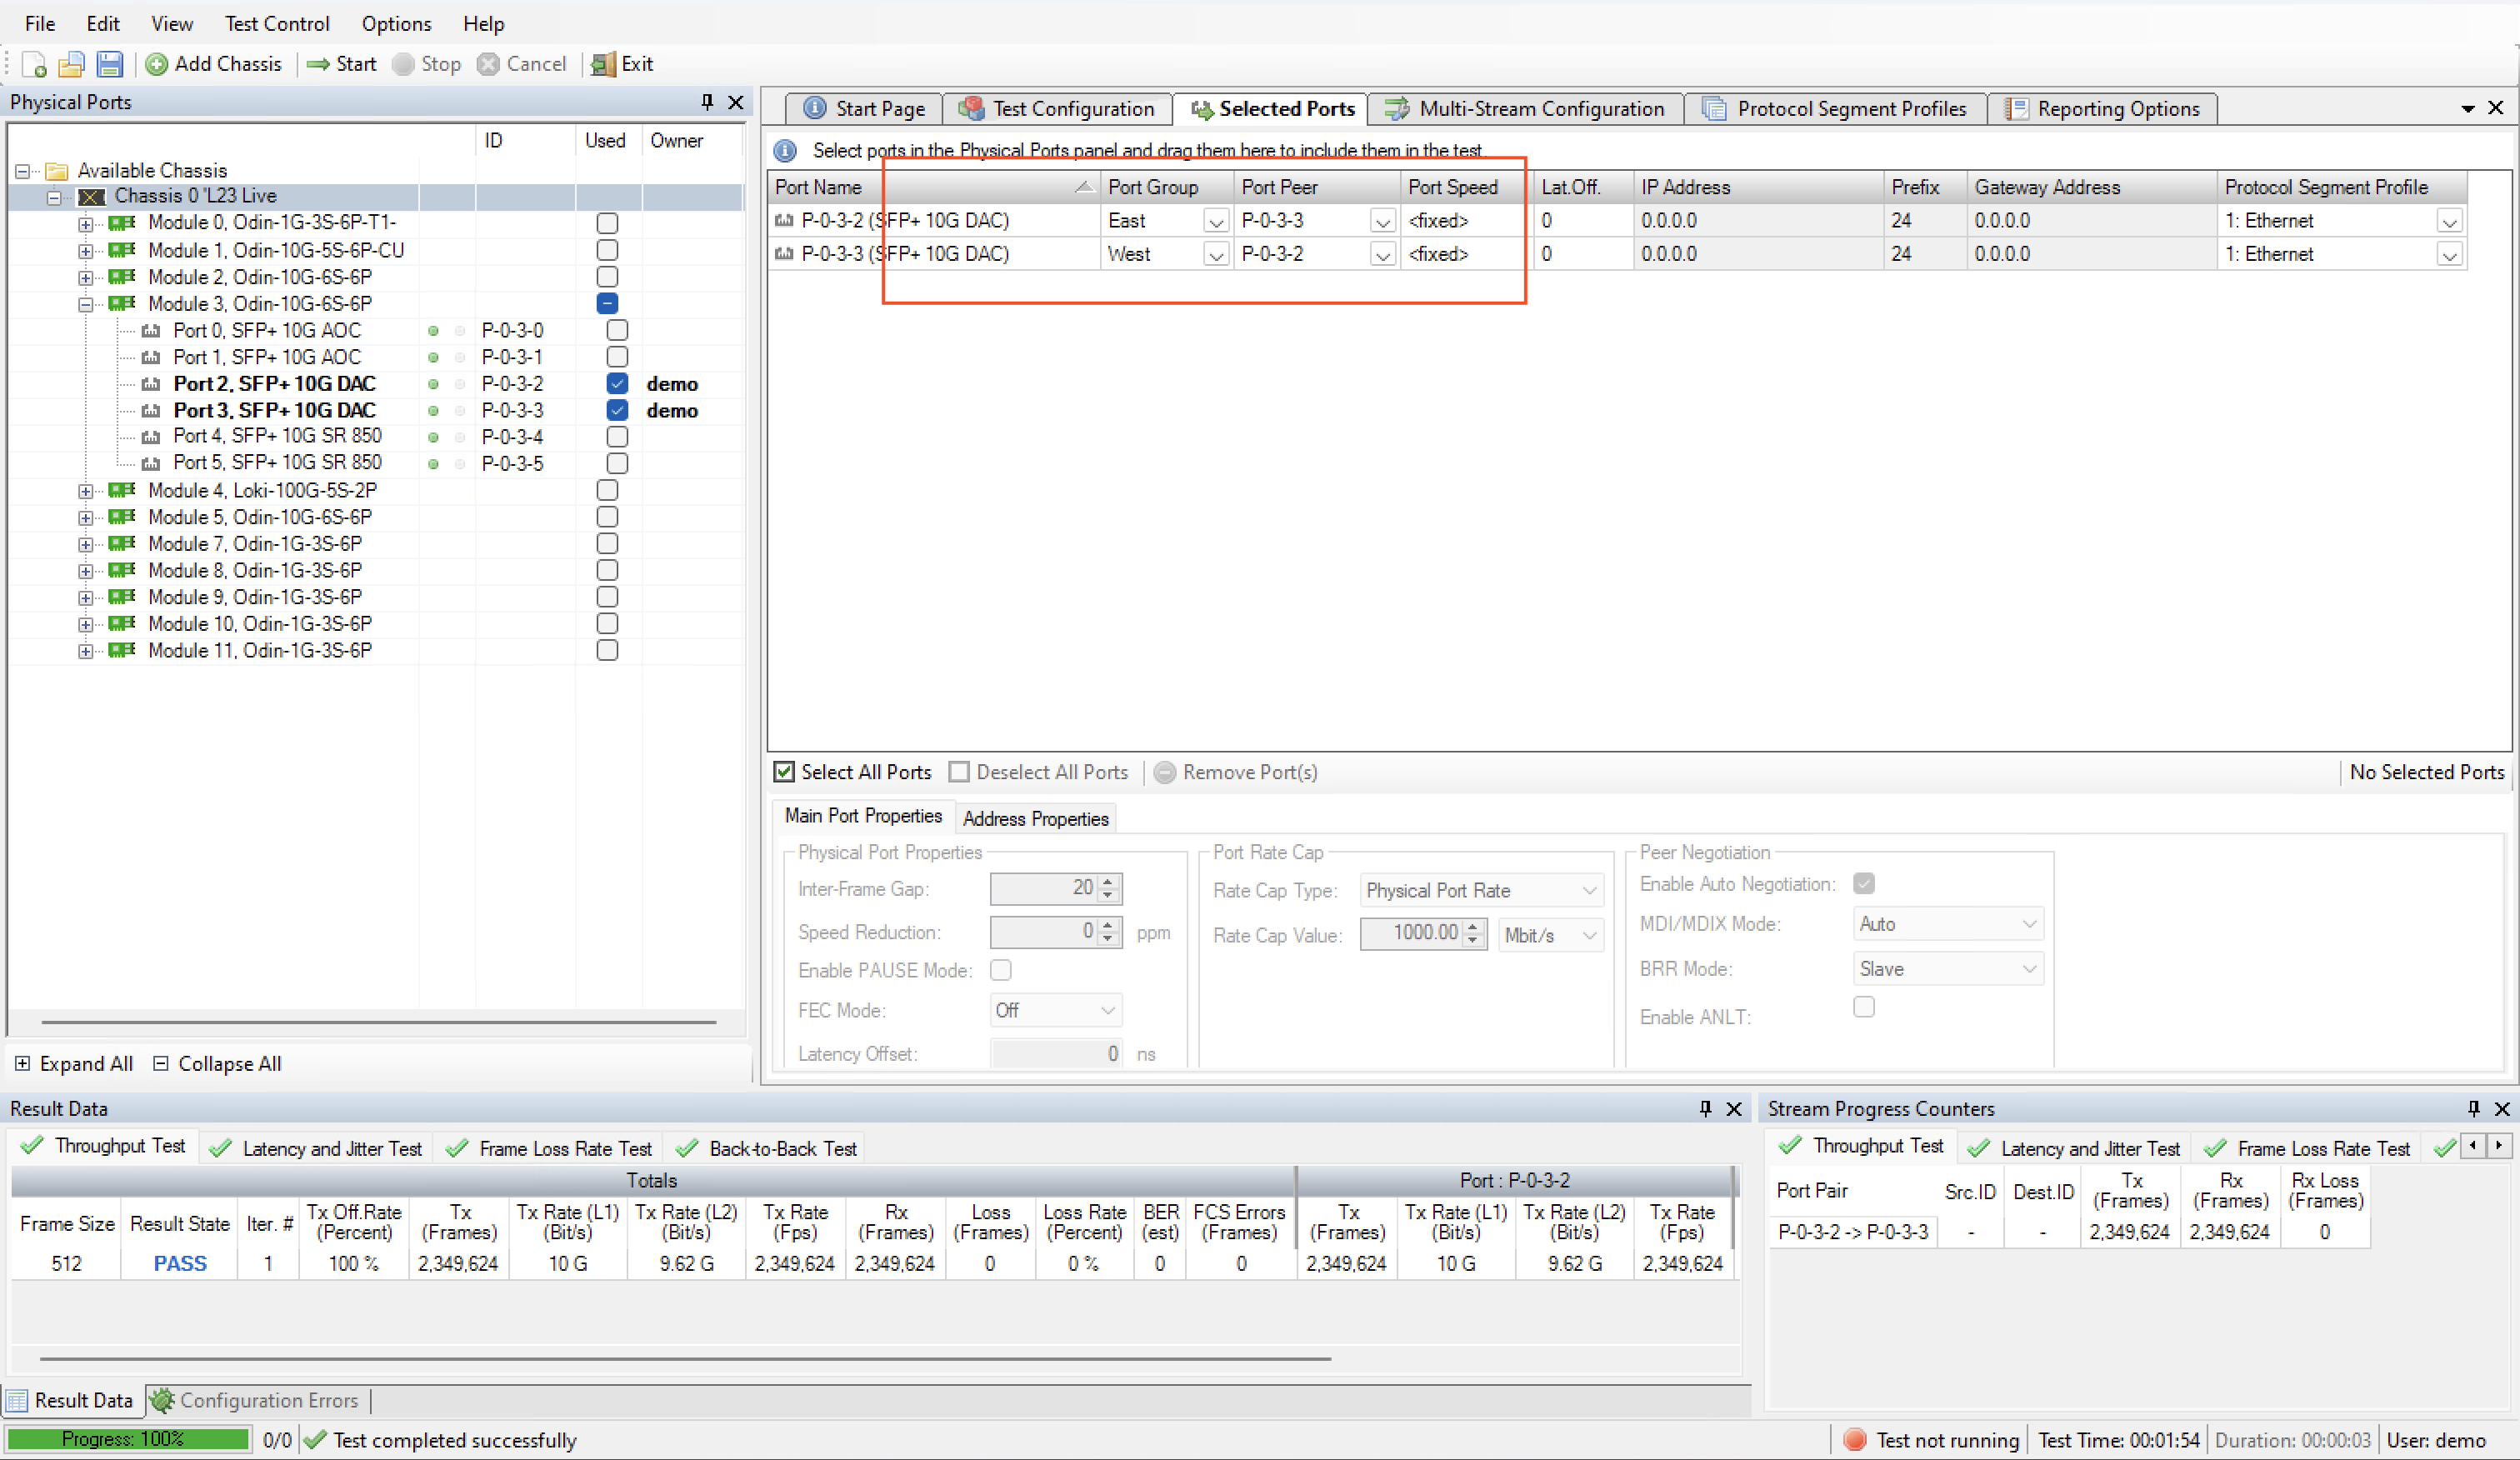
Fig. 4.3 Port group
Change to the Reporting tab and ensure that the Generate PDF Report option is checked. Also ensure that the Open report in Associated Viewer option in the menu is checked.
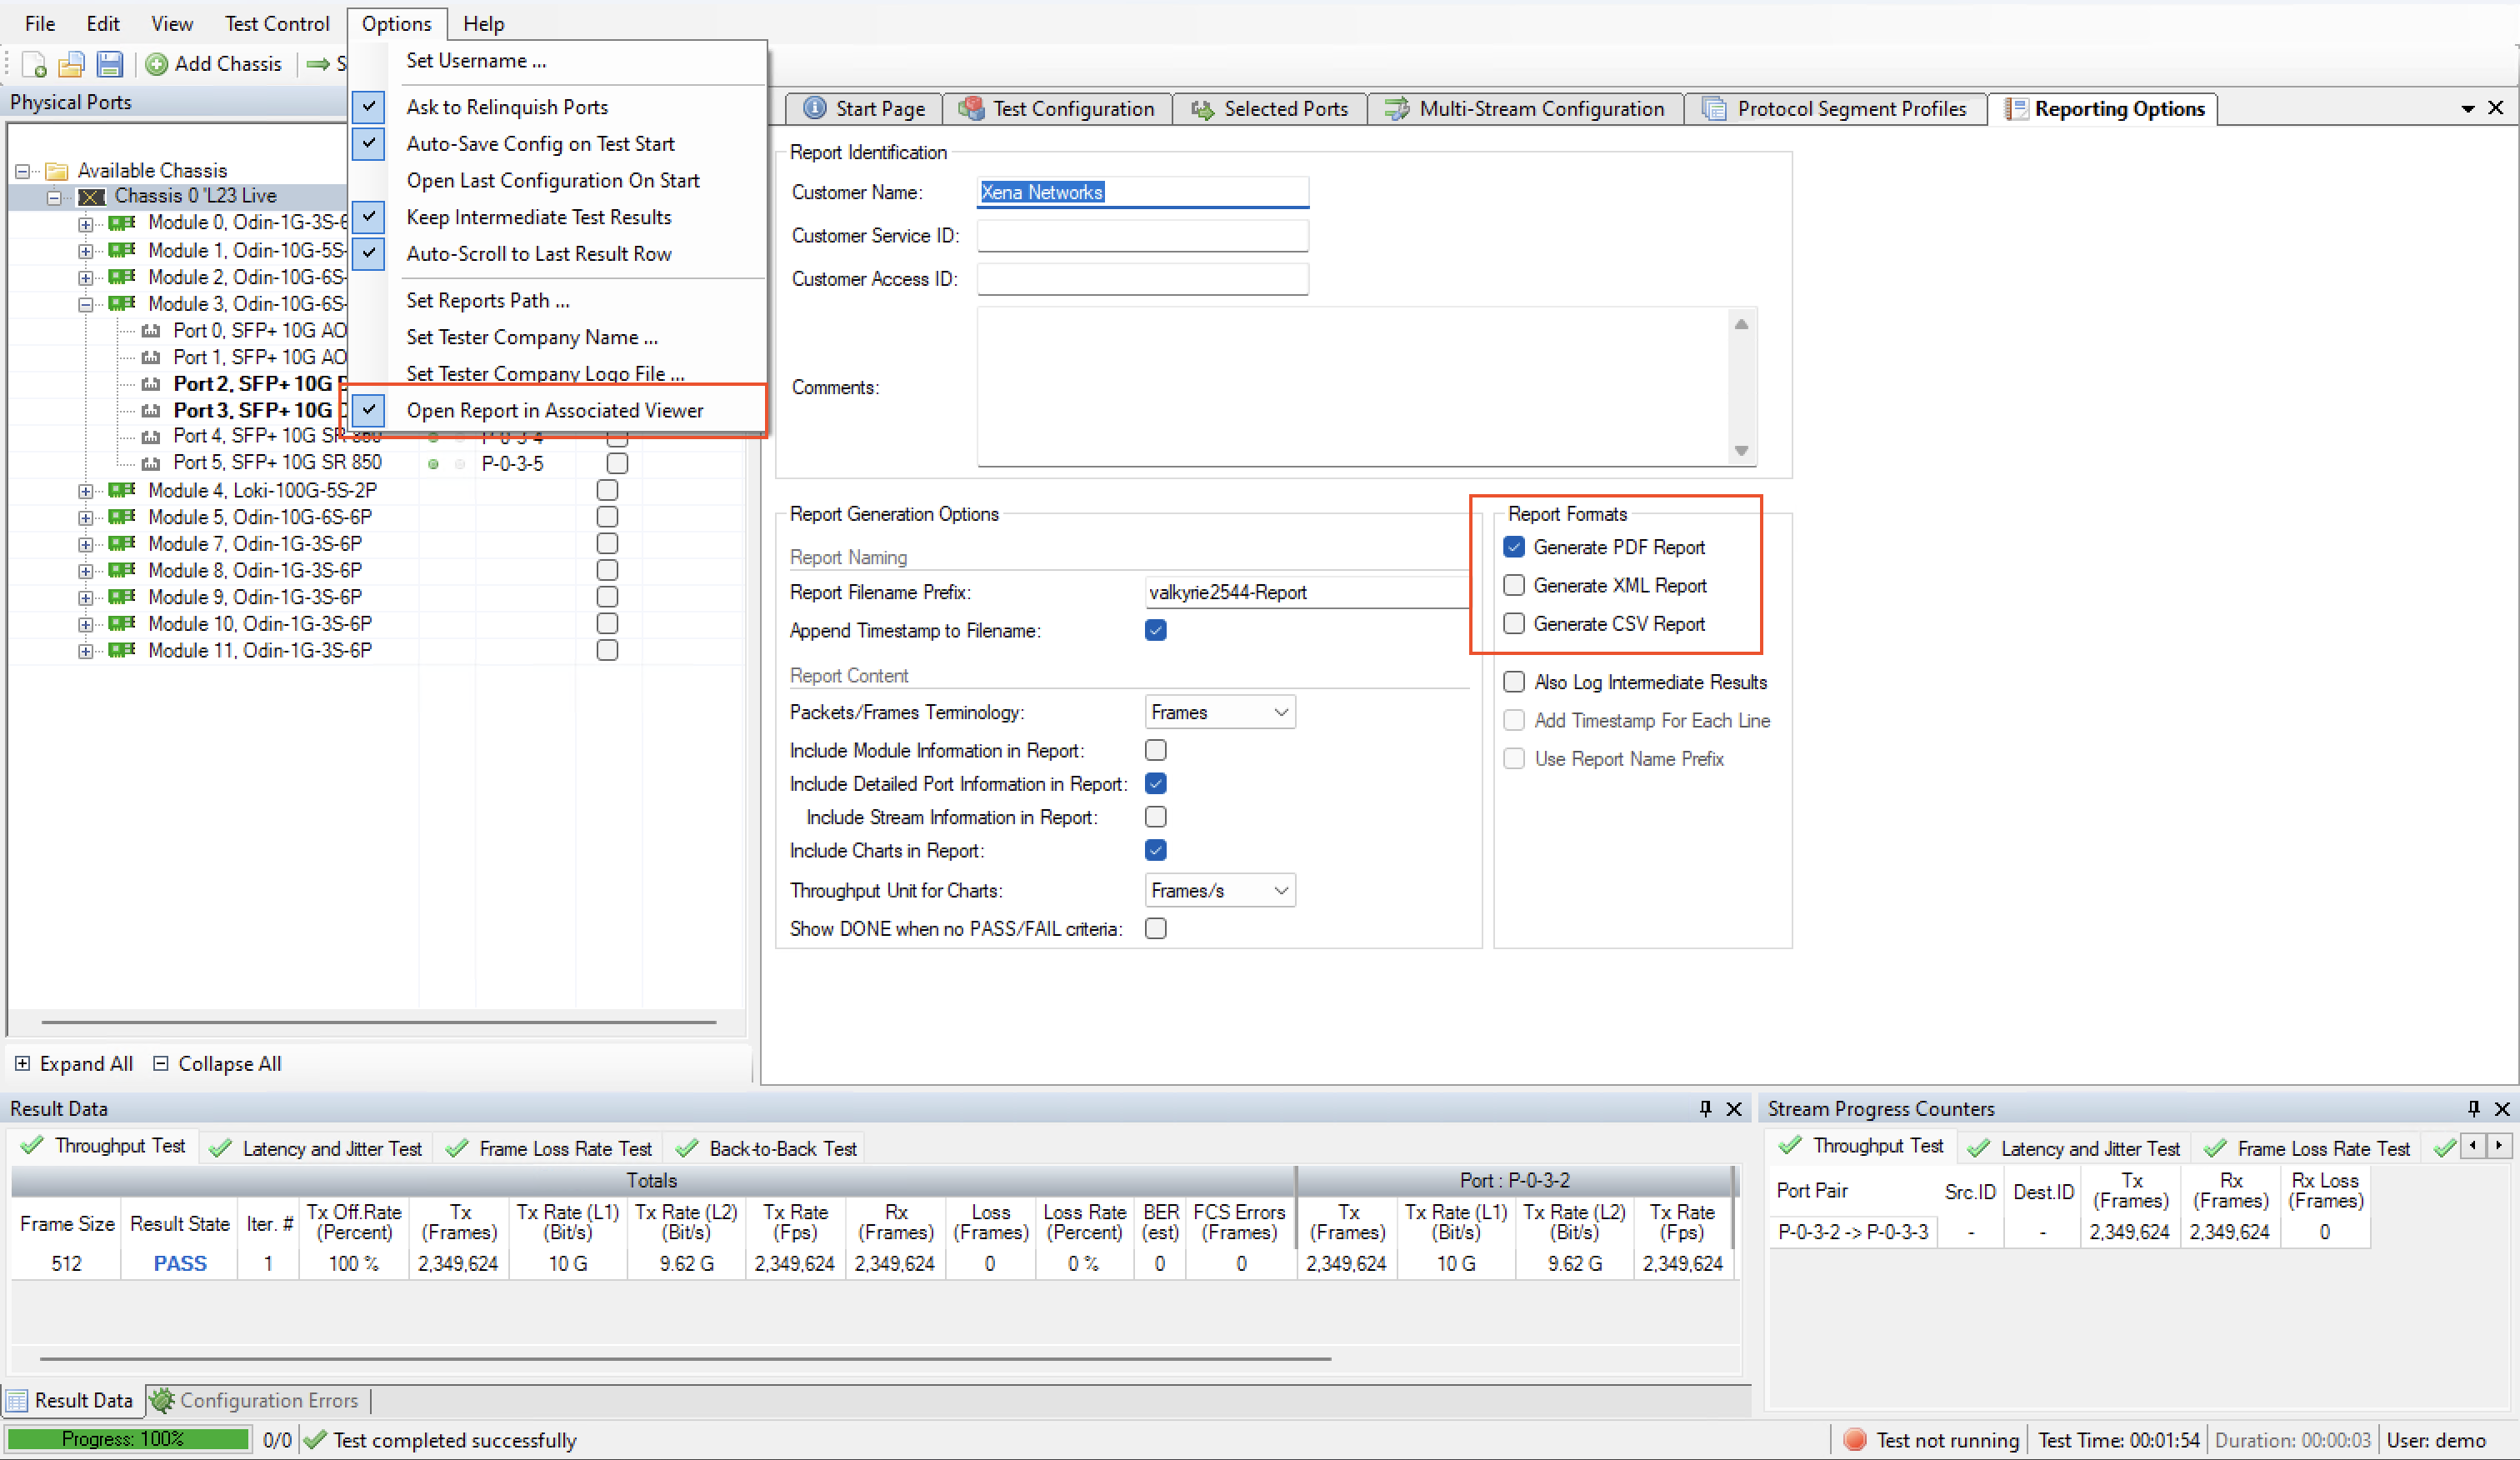
Fig. 4.4 Reporting
Press the Save Configuration tool icon in the toolbar (or select the menu item). Enter a suitable filename for the configuration.
Press the Start button in the toolbar. Your test will now start and the progress will be indicated in the status line at the bottom of the GUI.
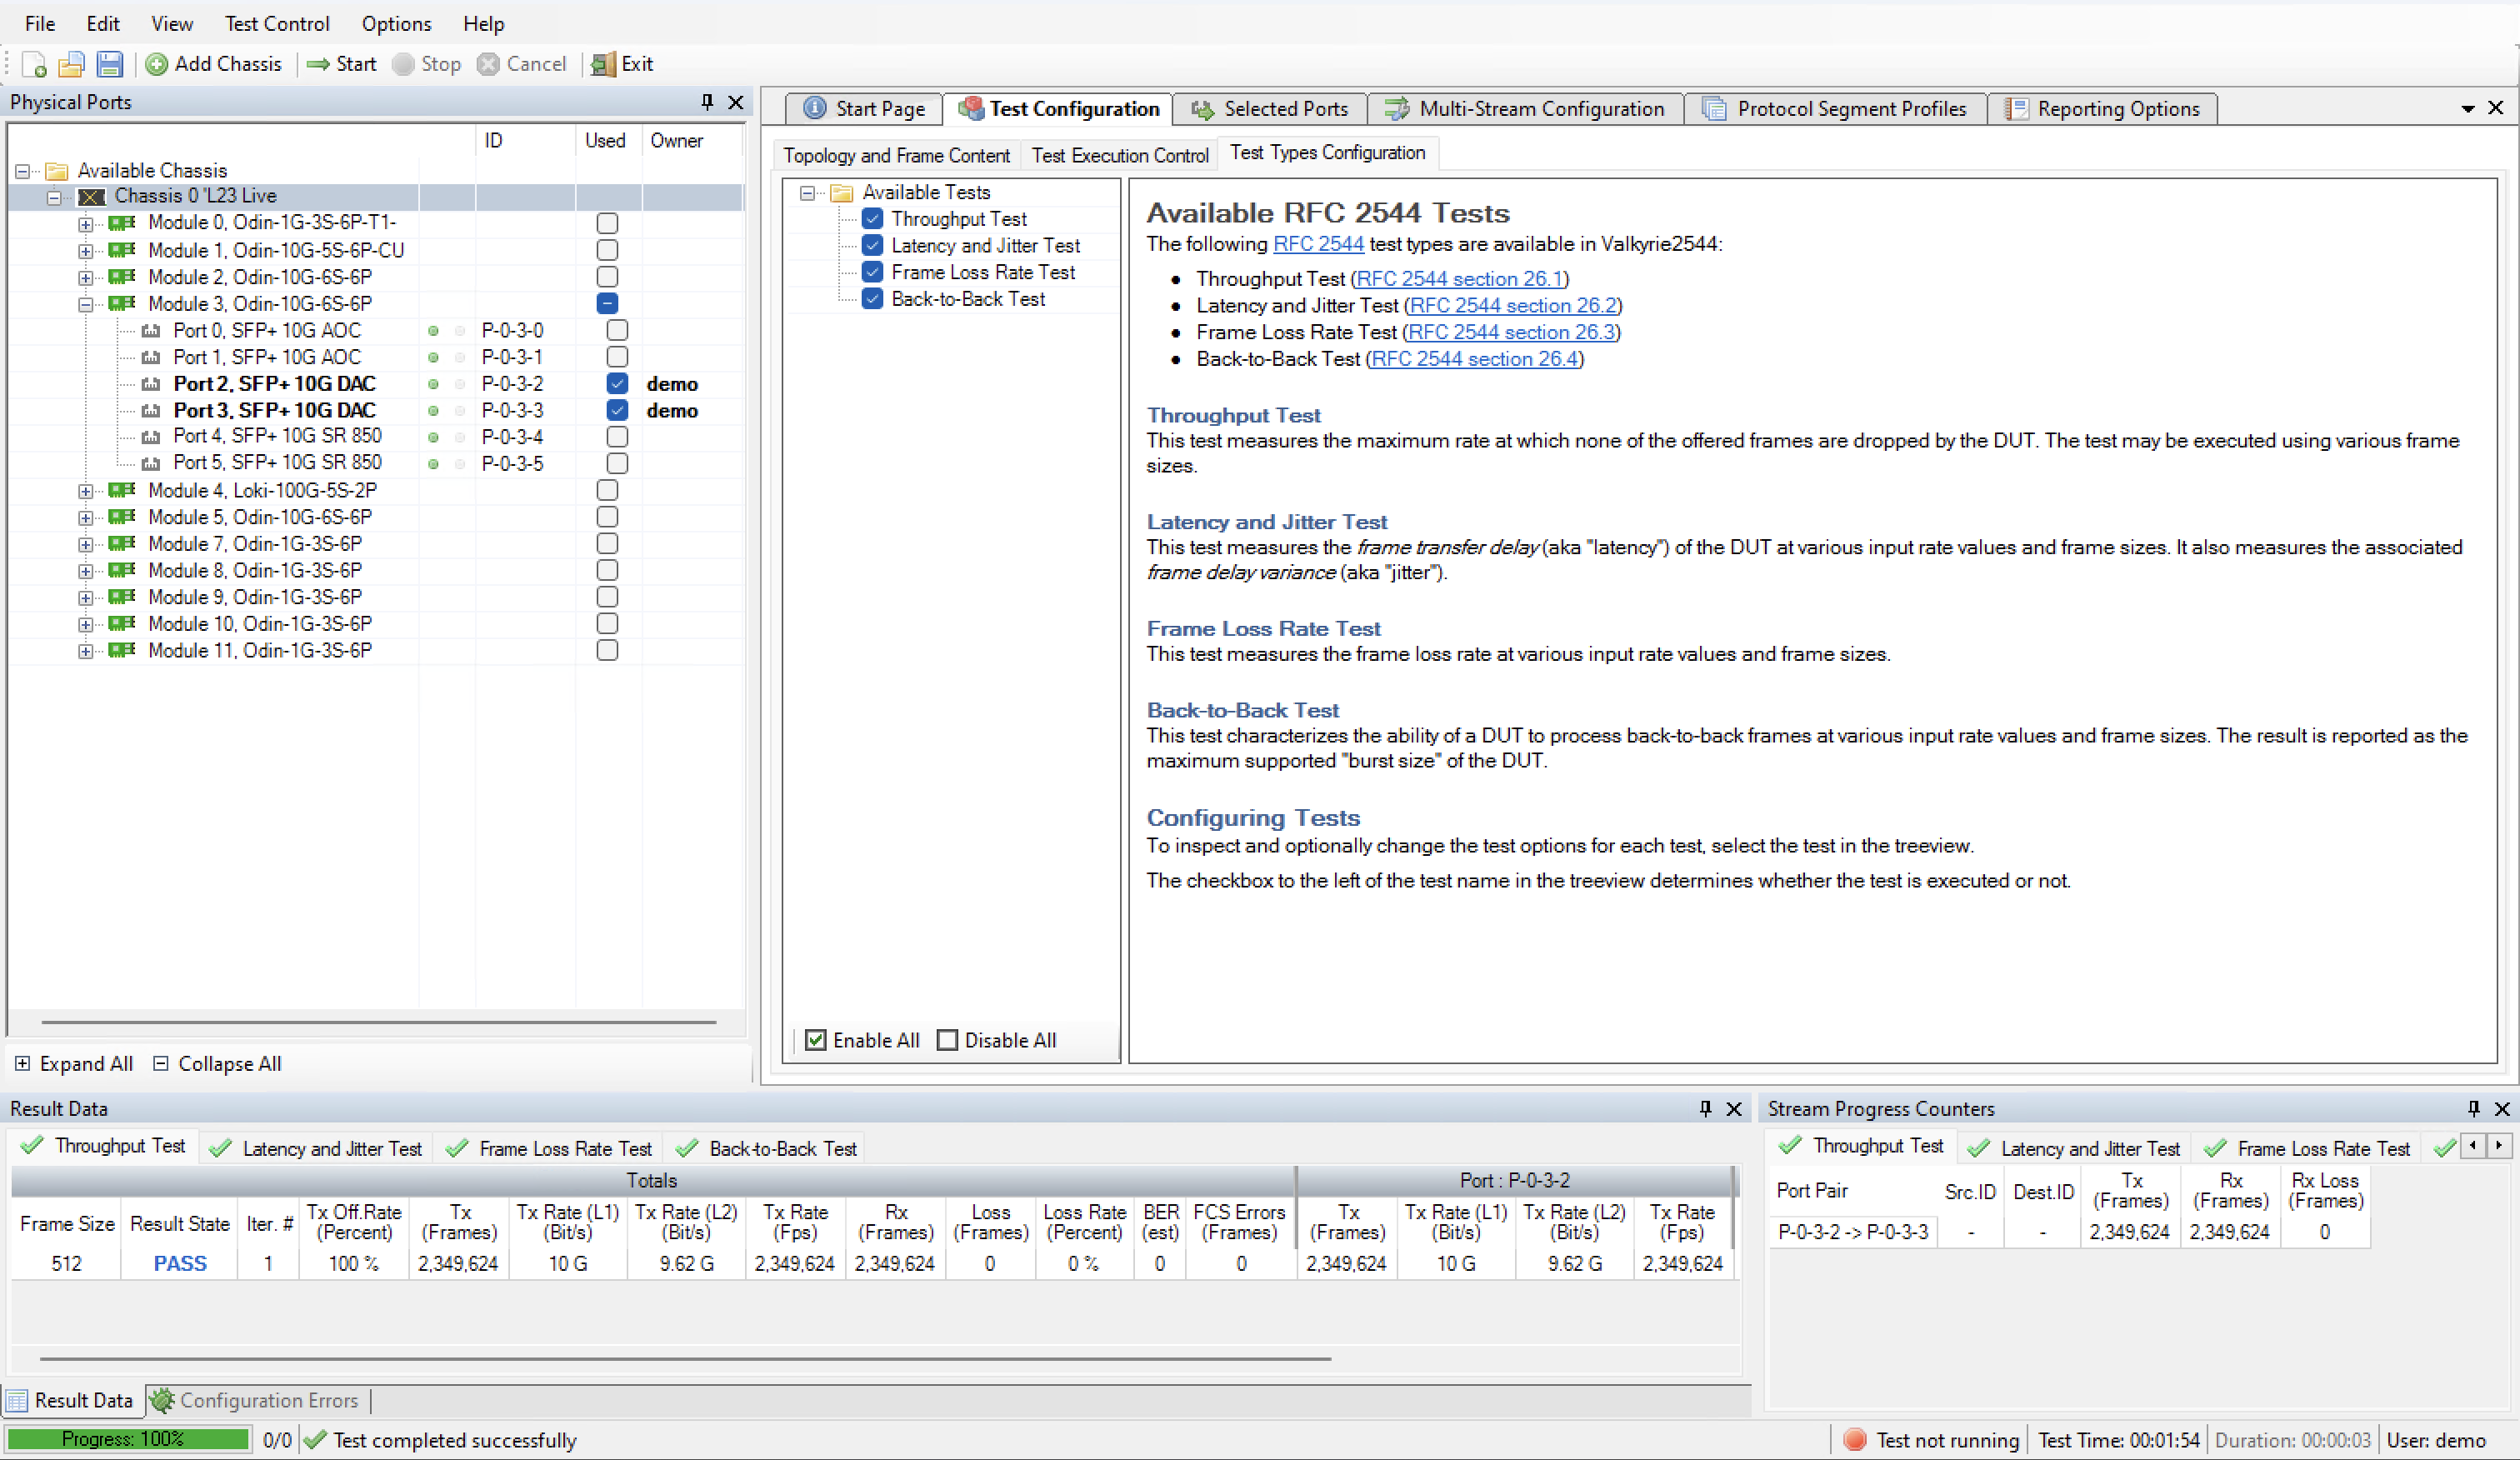
Fig. 4.5 Test done
When all 4 tests have completed the generated PDF report will automatically be shown in the associated PDF viewer.
Adding VLAN Tag
This example will expand on the previous example and show how to add a VLAN protocol segment to the test.
Open the configuration file used in the previous example. You may optionally save it under a new name if you want to preserve the original.
Change to the Protocol Segment Profiles tab. At the top you will see a list of existing profiles.
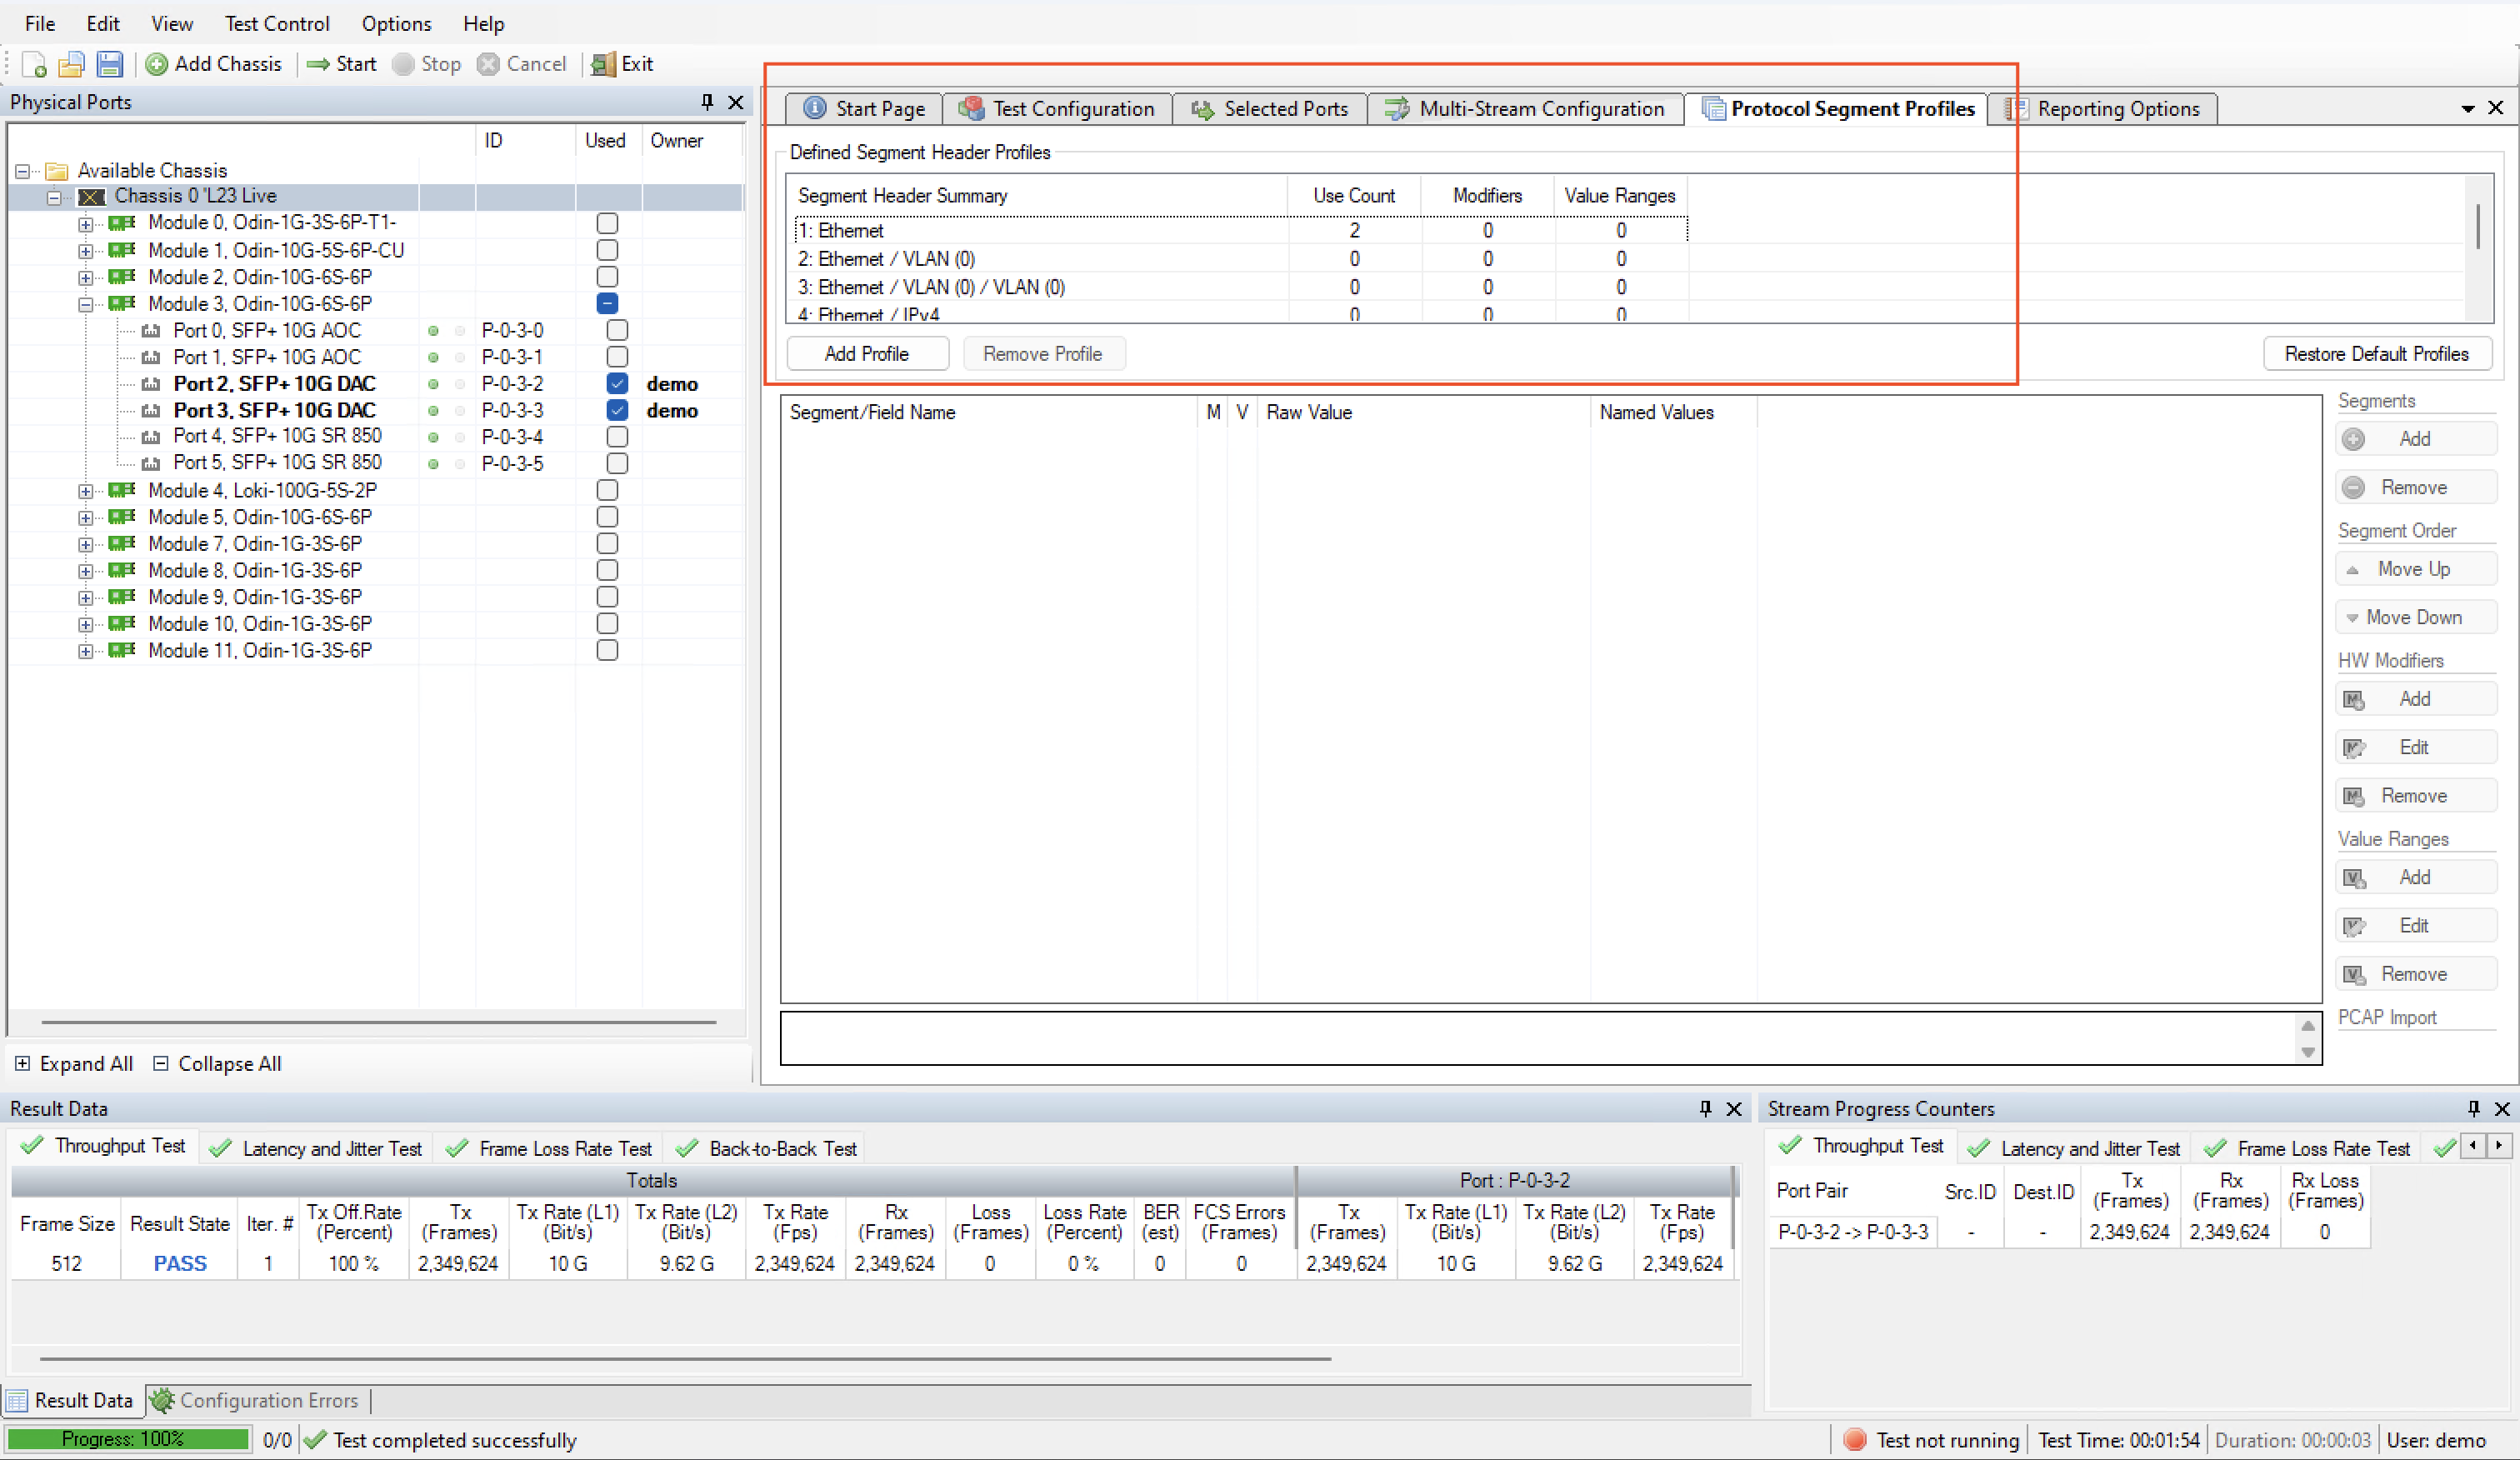
Fig. 4.6 Protocol segment profile
Select the profile labeled Ethernet / VLAN (0). This is a predefined profile created by the Xena2544 as a convenience for you. We will however need to modify it a bit.
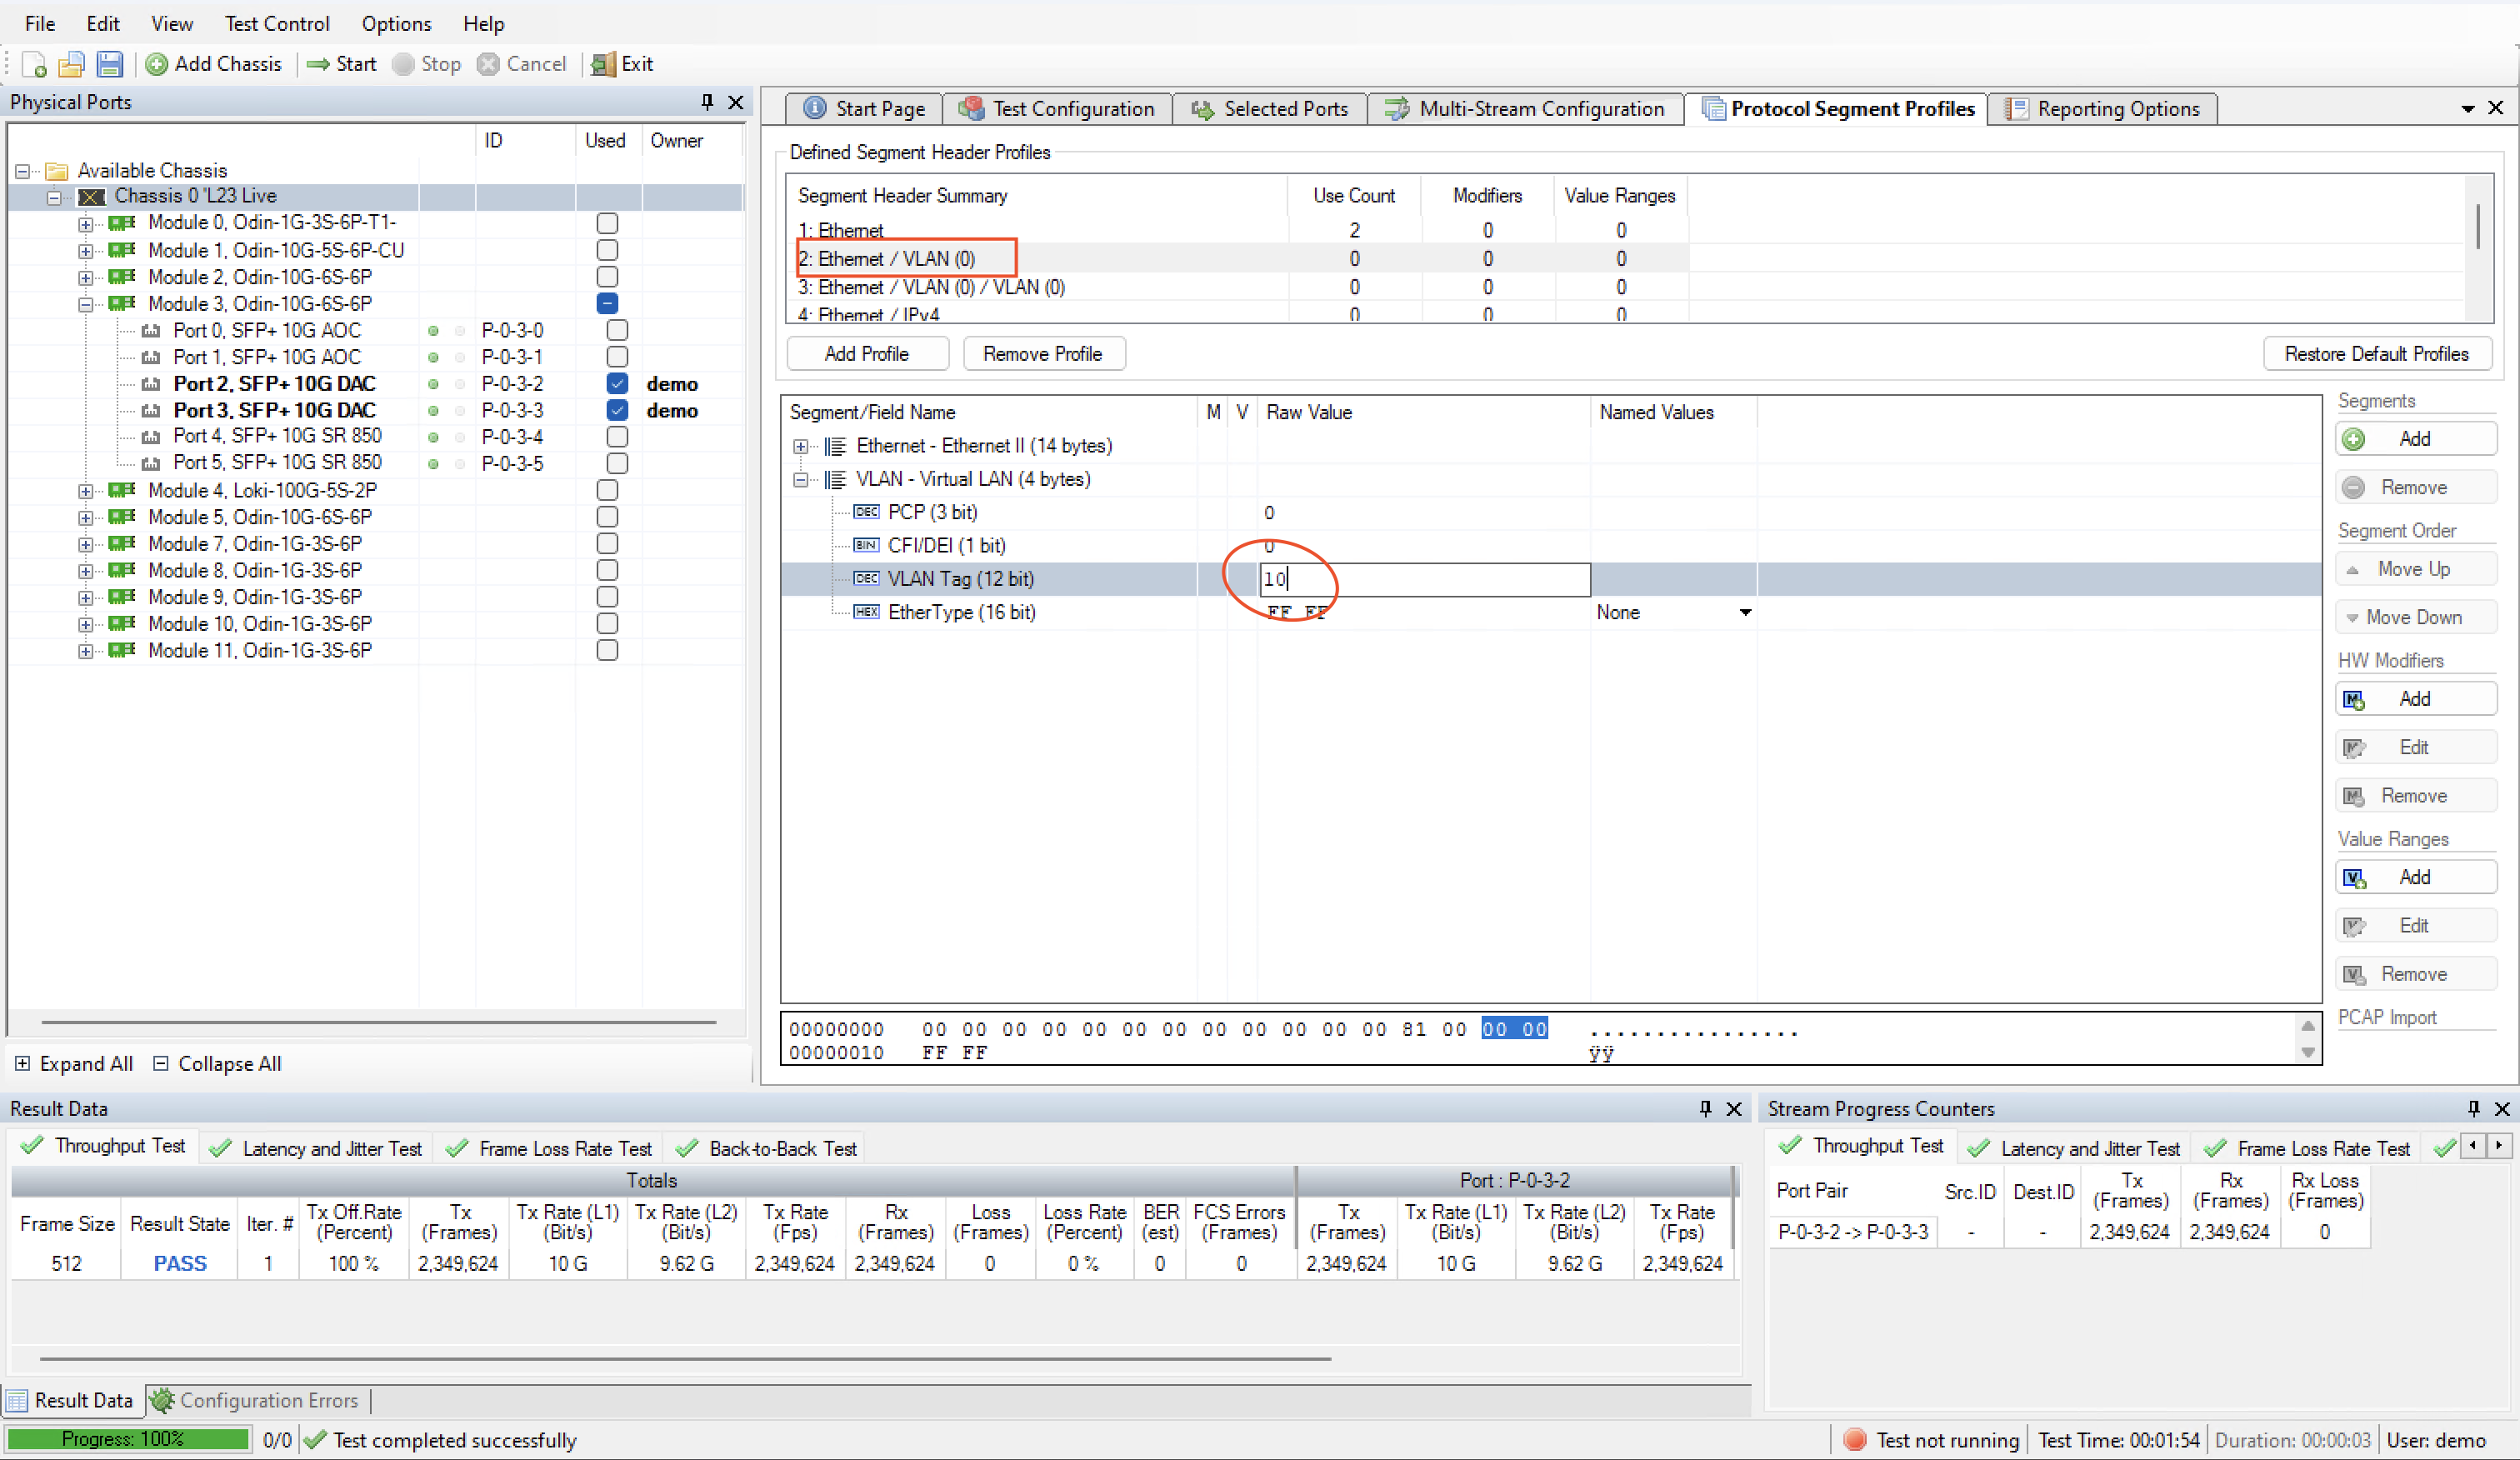
Fig. 4.7 Set VLAN tag 10
When you select the profile the tree iew below the profile list will be populated with the available protocol segments in the profile. Expand the VLAN branch and locate the VLAN Tag field. Change the value to e.g. 10.
You should now see that the profile label changes to Ethernet / VLAN (10).
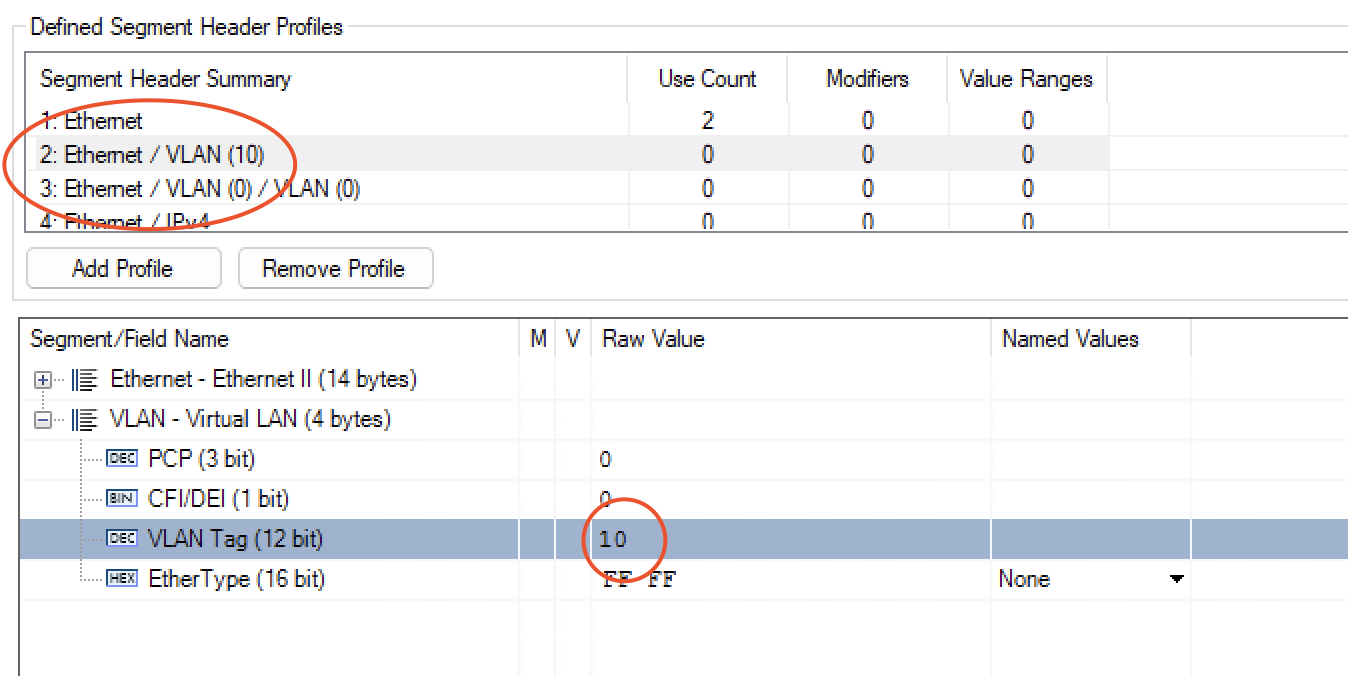
Fig. 4.8 VLAN tag 10 profile
Change to the Selected Ports tab. Change the Protocol Segment Profile value for each of the two ports to the profile we just edited.
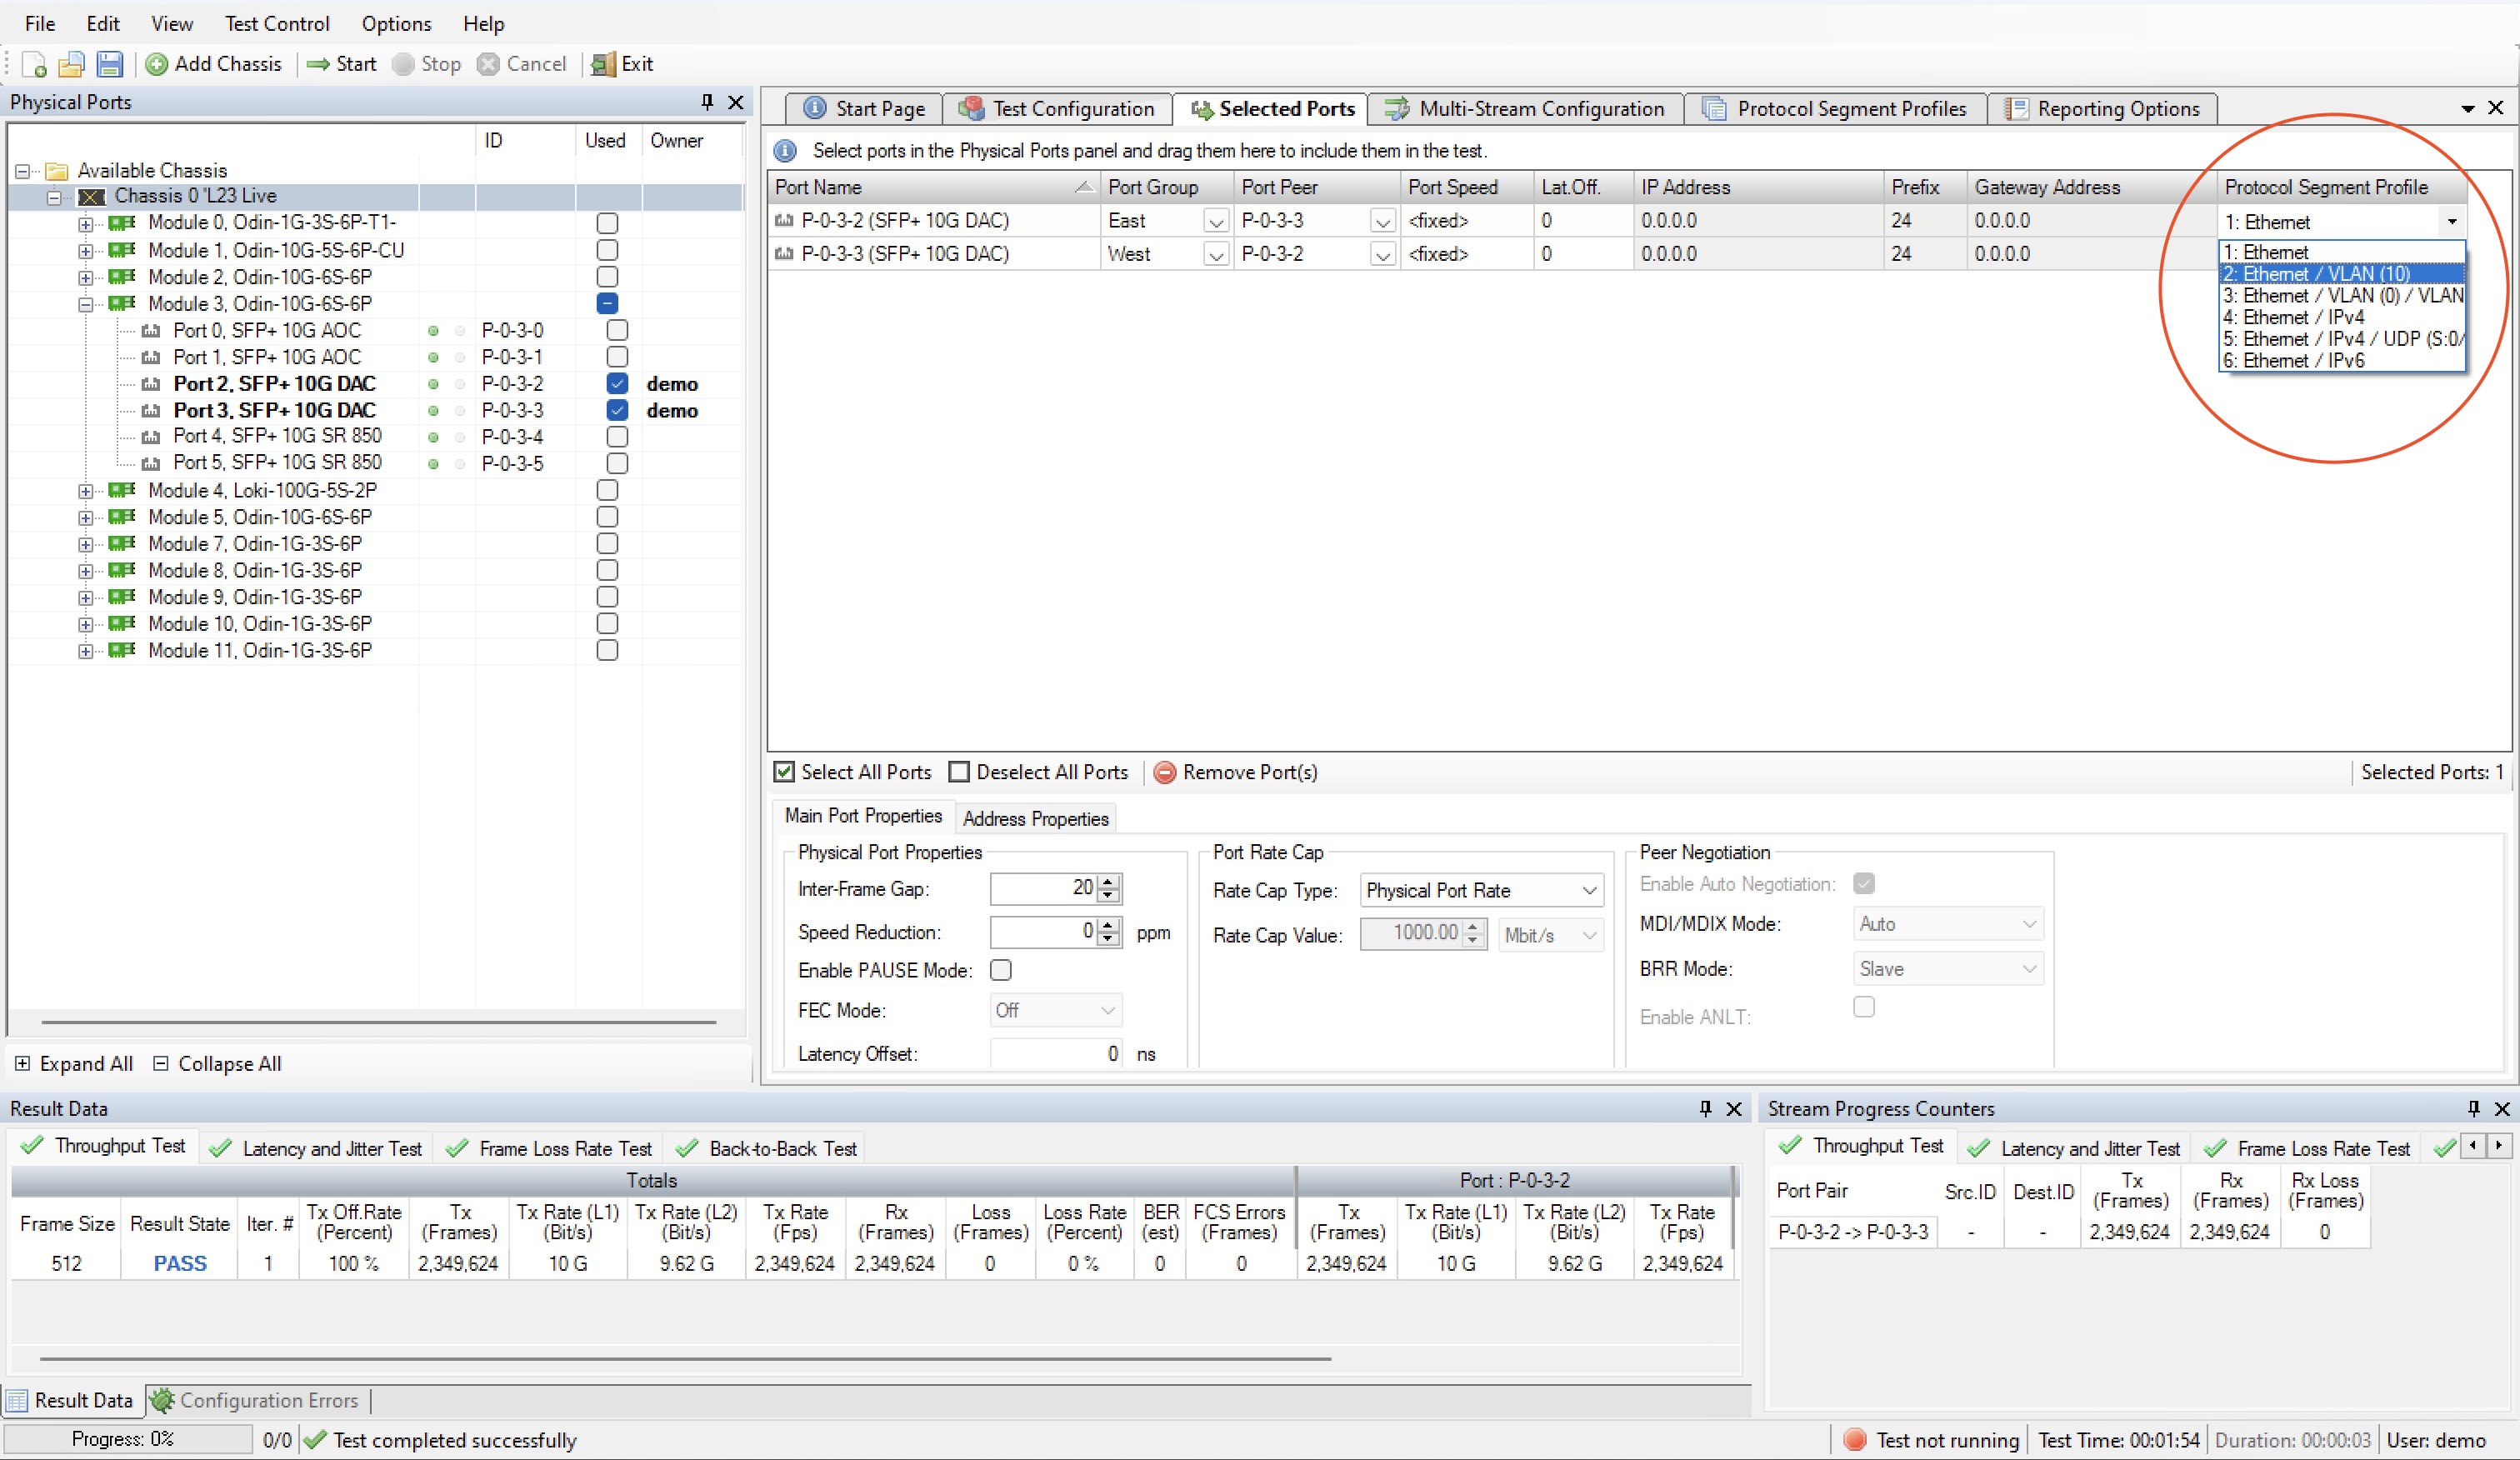
Fig. 4.9 User protocol segment profile on port
Note
If you select both ports using Ctrl-click you can change this value for both ports simultaneously.
Note
You can also right-click and select Use Value For All to quickly apply to all ports.
Press the Start button in the toolbar to start the test.