4.1. Performing Rate Test (Plain Ethernet)
This example explains how to create and execute a simple rate test using two test ports.
A “rate test” is a test that focus on the throughput and forwarding aspects of the DUT. All the tests defined in RFC 2889 #section5.1 to RFC 2889 #section5.4 are considered to be rate tests. These tests mainly differ in terms of the used network topology and traffic direction but the basic test methodology is the same for all rate tests.
In this example we will use a Full Mesh topology with three test ports, using plain Ethernet traffic.
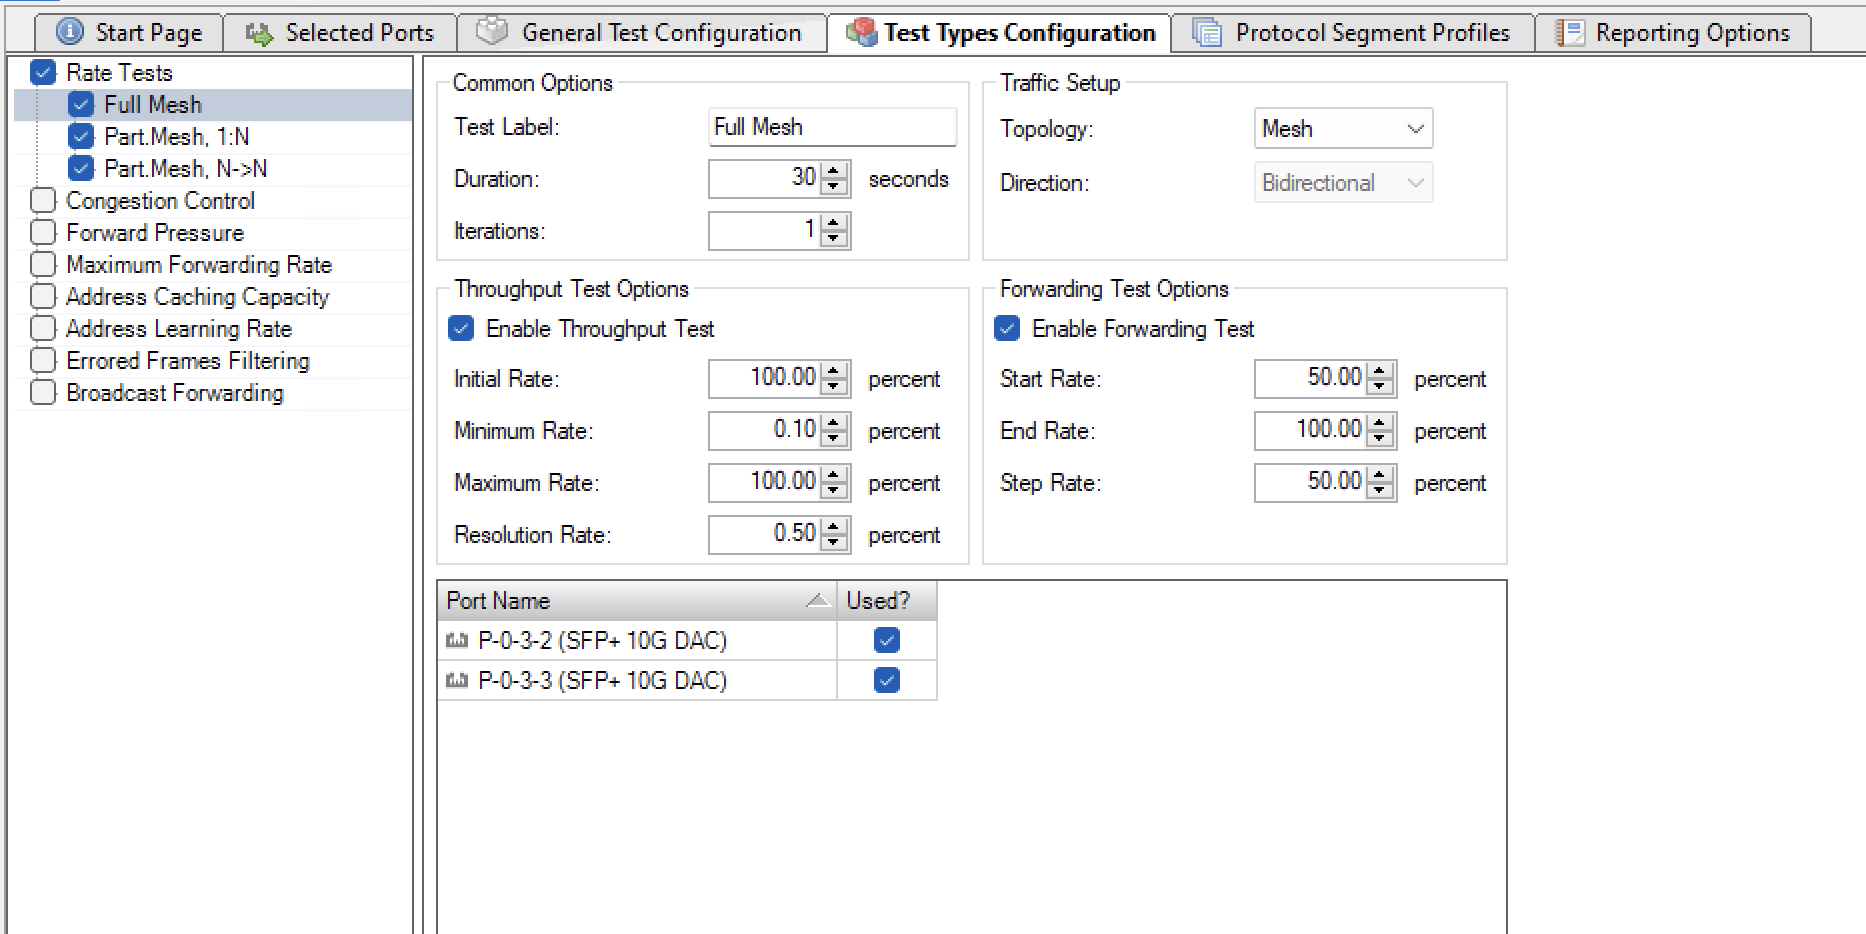
Fig. 4.1 Performing Rate Test (Plain Ethernet)
Perform the following steps to create and execute this test:
Start the Xena2889 application.
Click the Add Chassis button in the toolbar and enter the IP address and password of the Xena tester you want to use. Keep the default value of 22606 for the port number unless you know that your tester is configured with a different port number. Press OK. The Xena2889 will now connect to the chassis and display all available modules and ports in the Physical Ports panel to the left.
Locate three test ports that you want to use in the Physical Ports panel and ensure that they are connected to your DUT. Select each port in the tree view, right-click and select the Add Port to Test Configuration menu option in the popup menu. You can select multiple ports by holding down the Ctrl or the :kdb`Shift` button while clicking with the mouse.
Change to the Selected Ports panel. You should now see the three ports you selected previously. Leave each port configuration at its default value.
Change to the General Test Configuration panel. If you know that your DUT has a throughput that is lower than the physical port speed by several orders of magnitude you can lower the used test port rate in the Overall Test Port Rate section at the top-right. Otherwise you may leave the general settings at the default values.
Change to the Test Types Configuration panel. You will now see a tree view to the left containing all defined tests. All tests are enabled by default so you should start with clicking the Disable All Tests button at the bottom of the tree view (this is the button with an empty square image). You can also disable all tests by clicking the checkbox to the left of each test.
Re-enable the Full Mesh rate test at the top and select the entry in the tree view. This is display the test options for this test in the configuration panel to the right. Note the list at the bottom of the configuration panel which show all the selected ports.
Press the Select All Ports button at the bottom of the configuration panel. This will include all the selected ports in the current rate test . Leave all other configuration options at their default values.
Select the menu item or press Ctrl+S in order to save your configuration. Give the configuration a suitable filename.
Press the Start button in the top toolbar or press Ctrl+T. The test will now start.
The Result Data panel at the bottom will display both progress information while the test is ongoing and also the final test results. Progress data will be shown with an italics font whereas final test results will be shown with a normal font.
Once the test completes a PDF report will be generated and shown using your default PDF viewer application.
The overall result will contain one result for the throughput test and one result for the forwarding test.