4.1. Chassis Management
4.1.1. General
Discover Chassis
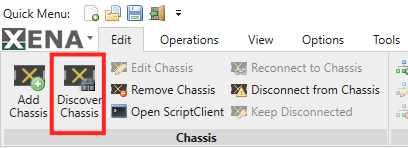
Fig. 4.1 Discover chassis button
The chassis discovery function allows you to see a list of active Xena test chassis connectable in your network. This is useful when you don’t know the IP address of the chassis you want to connect to.
Important
You may need permission from your network/firewall settings in order for your test chassis to be discovered by XenaMananger.
Allow IP address
224.2.1.3Allow
UDPport22607
Connecting to Chassis
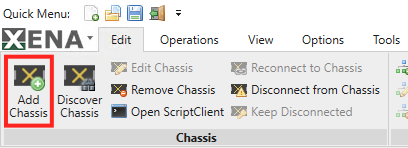
Fig. 4.2 Add chassis button
Chassis definitions are contained in the overall test configuration. You can add a chassis by pressing the Add Chassis button in the main Edit ribbon menu. You will then see the following dialog window:
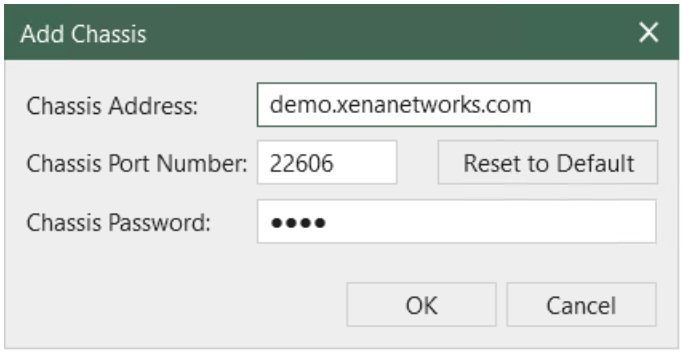
Fig. 4.3 Add chassis dialog window
Fill in the IP address or hostname for the chassis in the Chassis Address field.
Optionally change the Chassis Port Number value if you connect to the chassis through a NAT router that changes the port number. The default port value is 22606. If you have changed the port value and want to revert to the default value you can press the Reset to Default button.
Enter the assigned password for the chassis in the Chassis Password field.
Press the OK button.
The next time you open the Add Chassis window, it will remember the last values you entered. If you have changed the port number and need to revert to the default Xena port number just press the Reset to Default button.
Note
Please be aware that if you attempt to add or reconnect to an offline chassis, or if the network settings are incorrectly configured on the client PC and/or chassis, you will receive the message: “Connection to chassis failed.”
Editing Chassis Address
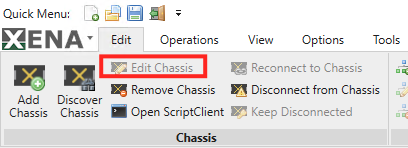
Fig. 4.4 Edit chassis button
If you need to modify the address or password details for a chassis you can select the chassis in the resource tree view and press the Edit Chassis button in the ribbon menu. You will then see a window similar to the Add Chassis window where you can change one or more of the values.
Note
Note that the Edit Chassis button will only be enabled if you are not currently connected to the chassis (we assume that if you are connected to the chassis you have no need for changing the defined address)
This action is also available in the right-click context menu for the chassis item in the tree view.
Reconnecting to Chassis
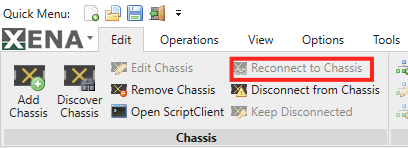
Fig. 4.5 Reconnect chassis button
If you have lost the connection to a chassis, for instance due to a local network connectivity outage, you can manually reconnect by selecting the chassis in the resource tree view and press the Reconnect to Chassis button in the ribbon menu.
This action is also available in the right-click context menu for the chassis item in the tree view.
Note
Please be aware that if you attempt to add or reconnect to an offline chassis, or if the network settings are incorrectly configured on the client PC and/or chassis, you will receive the message: “Connection to chassis failed.”
Disconnect from Chassis
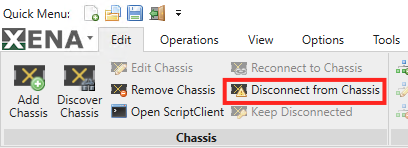
Fig. 4.6 Disconnect chassis button
You can forcibly disconnect from a defined chassis without removing the definition from the configuration. This will also prevent XenaManager from making any attempt to reconnect to the chassis, until you specifically choose to reconnect to that chassis. You can use this option if you have a chassis defined in your configuration that you know will be offline for a longer period of time.
Remove Chassis
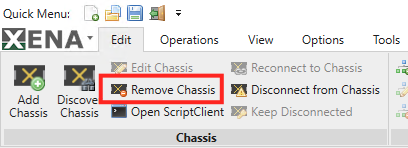
Fig. 4.7 Remove chassis button
If you no longer need a certain chassis in your test configuration simply select the chassis and press the Remove Chassis button in the ribbon menu.
This action is also available in the right-click context menu for the chassis item in the tree view.
Refresh Chassis
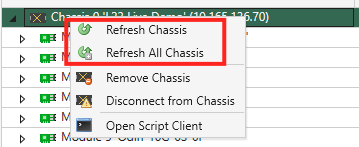
Fig. 4.8 Refresh chassis button
You can also refresh the chassis configuration by selecting an appropriate option in the right-click context menu:
Refresh Chassis: This will refresh the chassis instance configuration.
Refresh All Chassis: This will refresh the chassis and associated resources, i.e. all modules and ports contained in it.
4.1.2. Troubleshooting
If the password is lost
The default value of the password is xena, which can be changed from the Chassis Properties panel of XenaManager.
If the password is forgotten, the following method can be used to gain access to the chassis: after power-on when the test port LEDs start flashing, for the next two minutes the chassis will accept its own serial number (which is printed on the label at the back of the chassis) as a backup password.
If the IP address is lost
The extension port (EXT port) is not used in normal operation. It serves as a backup with a known IP address.
The EXT port is pre-configured with the following IP setup:
Address =
172.16.255.200Subnet =
255.255.255.0Gateway =
none
You must configure your PC port statically to an IP address in the 172.16.255.x range, and then you will be able to ping the chassis again. Now start XenaManager, and connect to the chassis using the IP address 172.16.255.200. Under the Chassis Resource Properties you can then see which IP address is configured for the MGMT port, and you can reserve the chassis and change it if necessary. Changes to the IP address of the MGMT port take effect after rebooting the chassis.
The location of EXT ports on XenaCompact and XenaBay chassis is shown in Fig. 4.9 and Fig. 4.10.
Note
Note that the IP configuration of the EXT port cannot be changed, and that you should not configure the MGMT port to use this subnet.
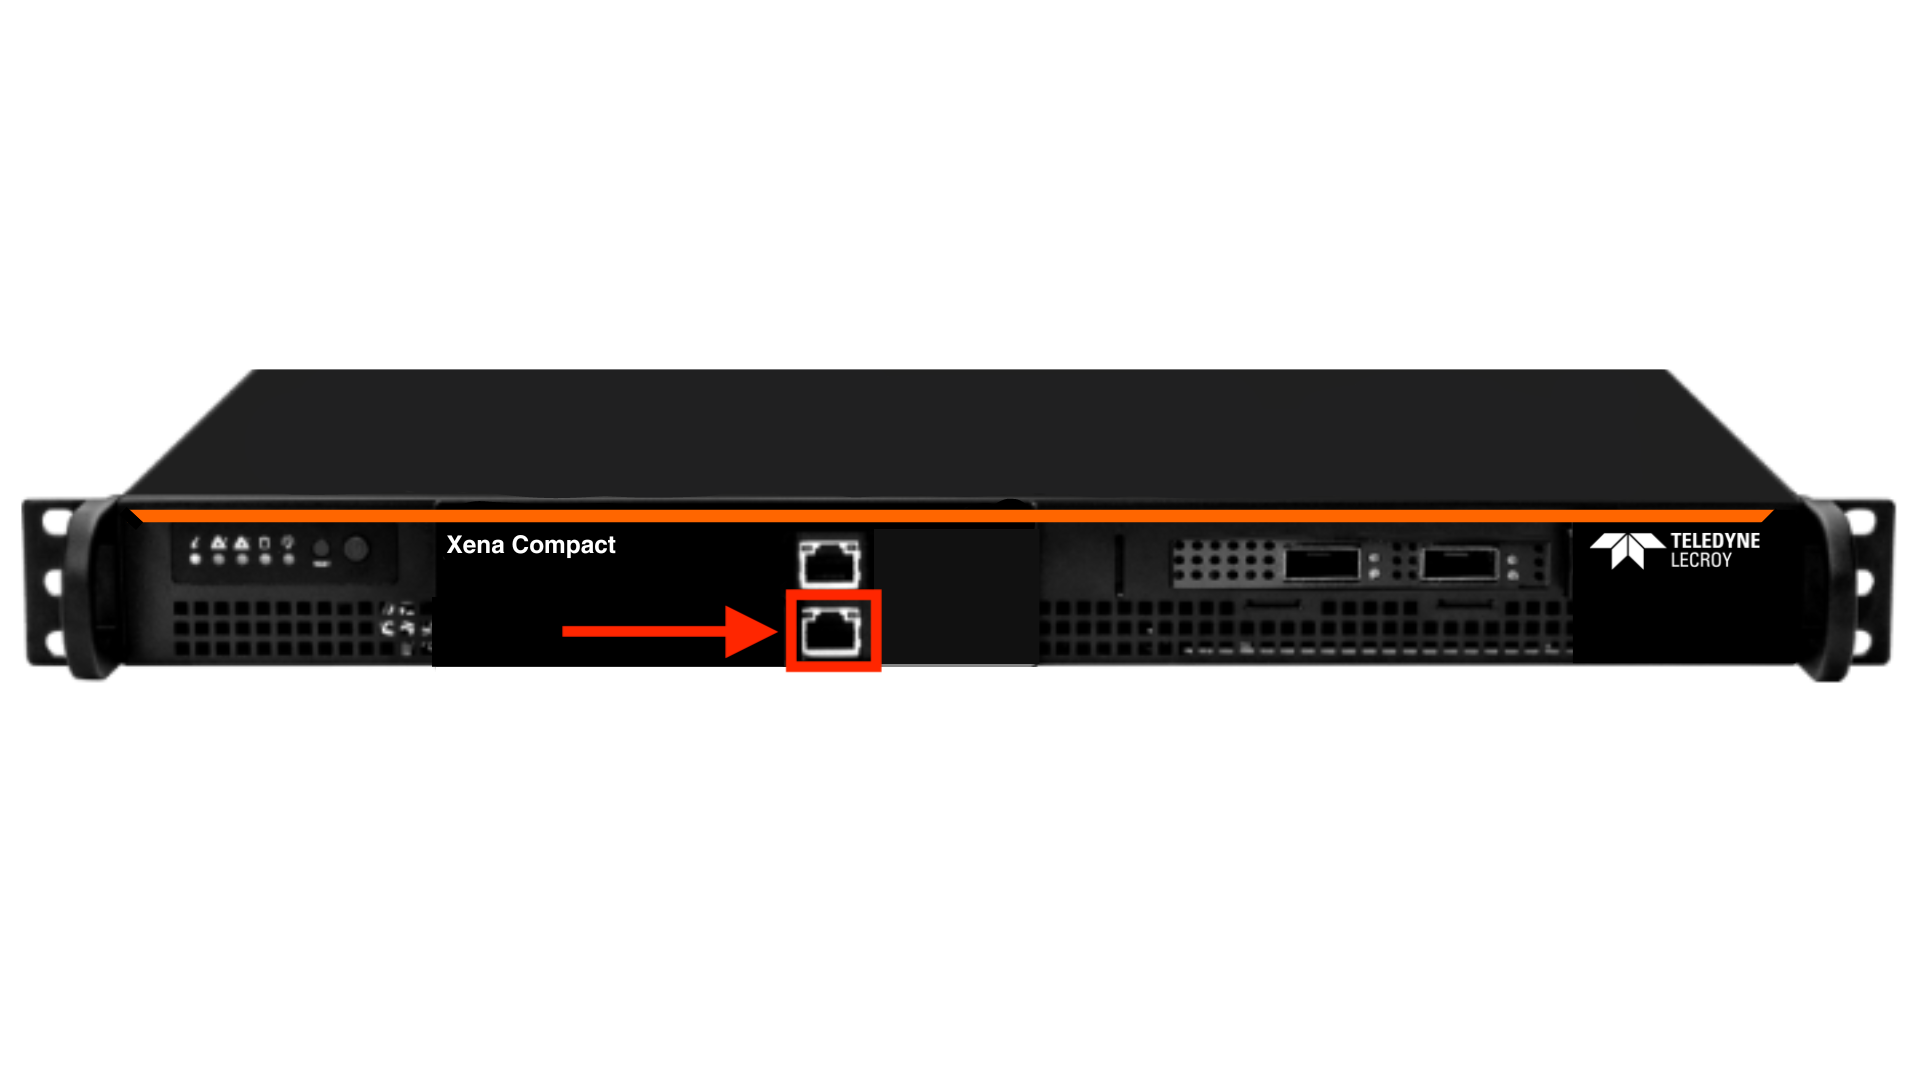
Fig. 4.9 Extension port on XenaCompact chassis
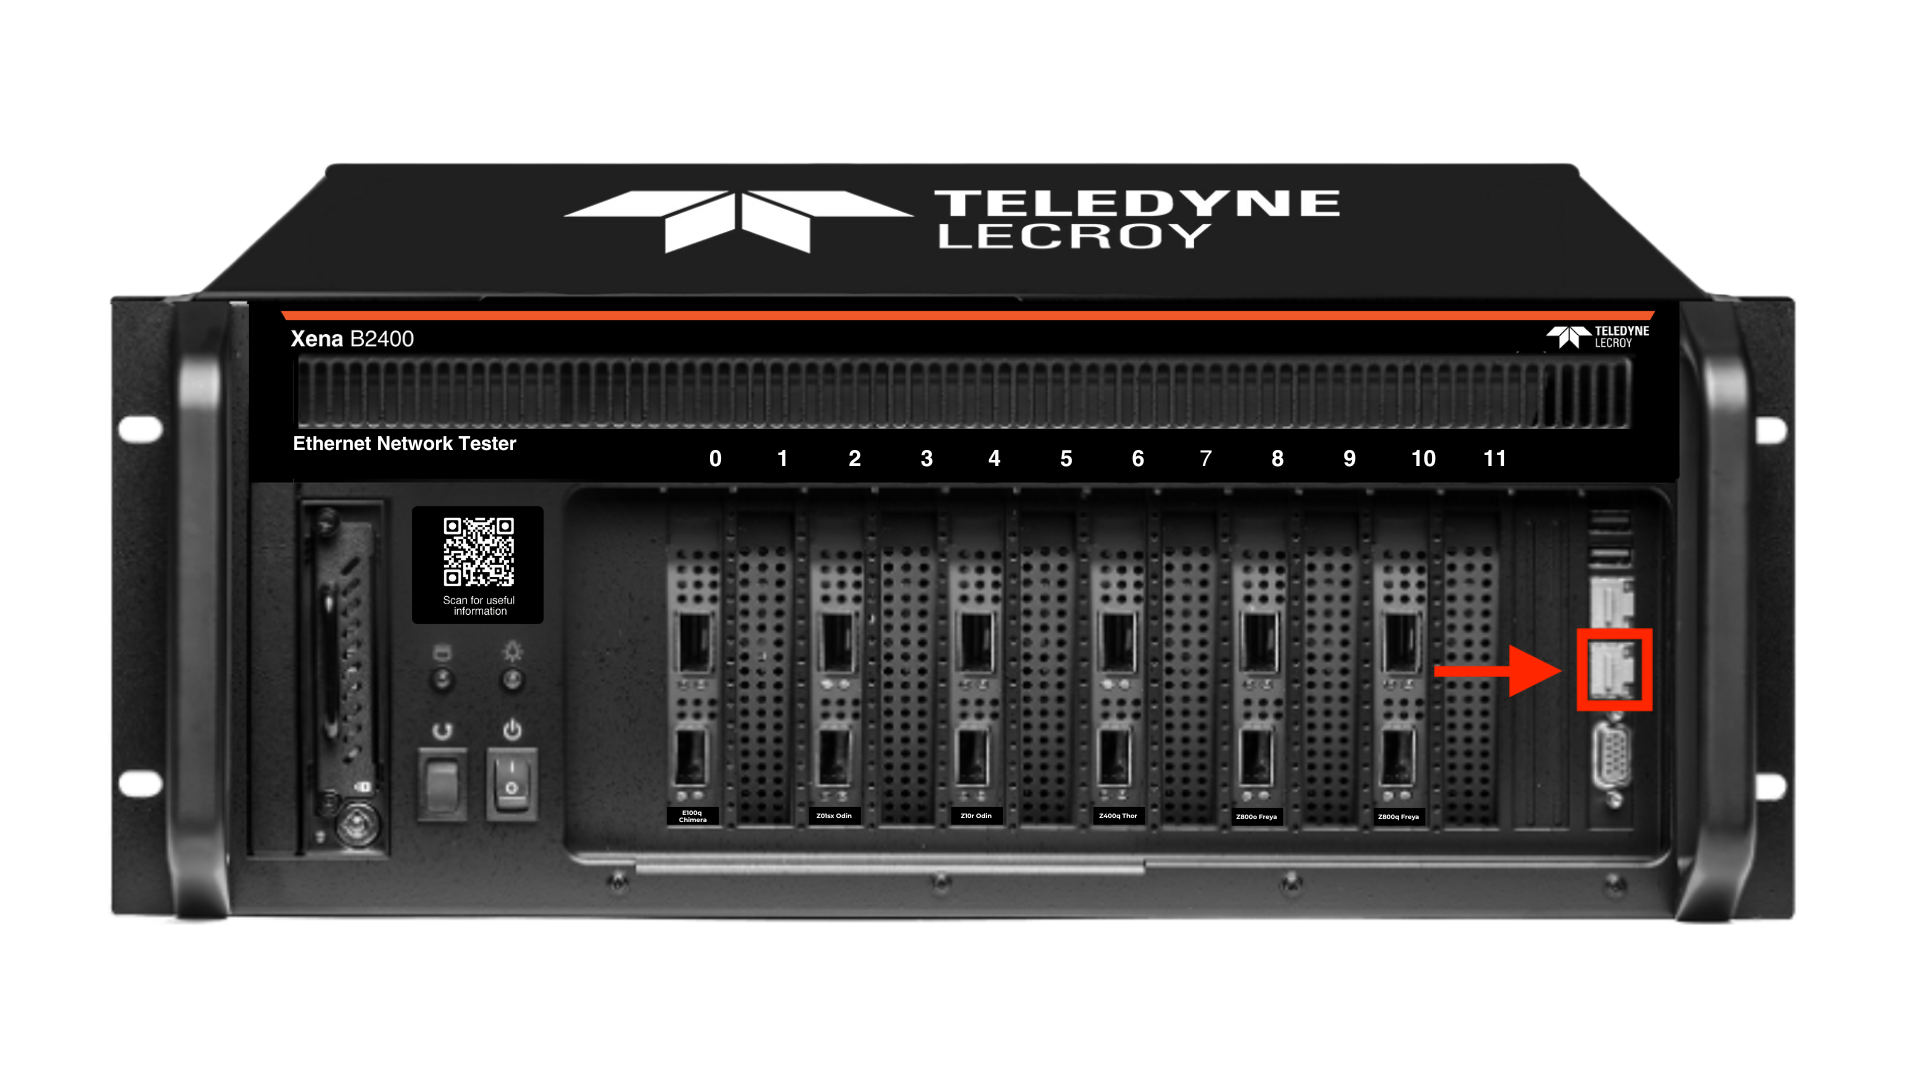
Fig. 4.10 Extension port on XenaBay chassis
Note
XenaBay supports 10M/100M/1G on MGMT and EXT port.
XenaCompact supports 1G/10G on MGMT and EXT port.
4.1.3. Software Maintenance Activation
Please refer to Xena ChassisUpgrader User Manual.